Below are my print settings for Klipper. I typically use 2 profiles, one for rapid prototyping, and one for high quality. Faster speeds are achievable with Klipper but my goal is NOT to reach the ultimate speed to print a 3D benchy! I want to print fast parts at good quality.
Printer Configuration
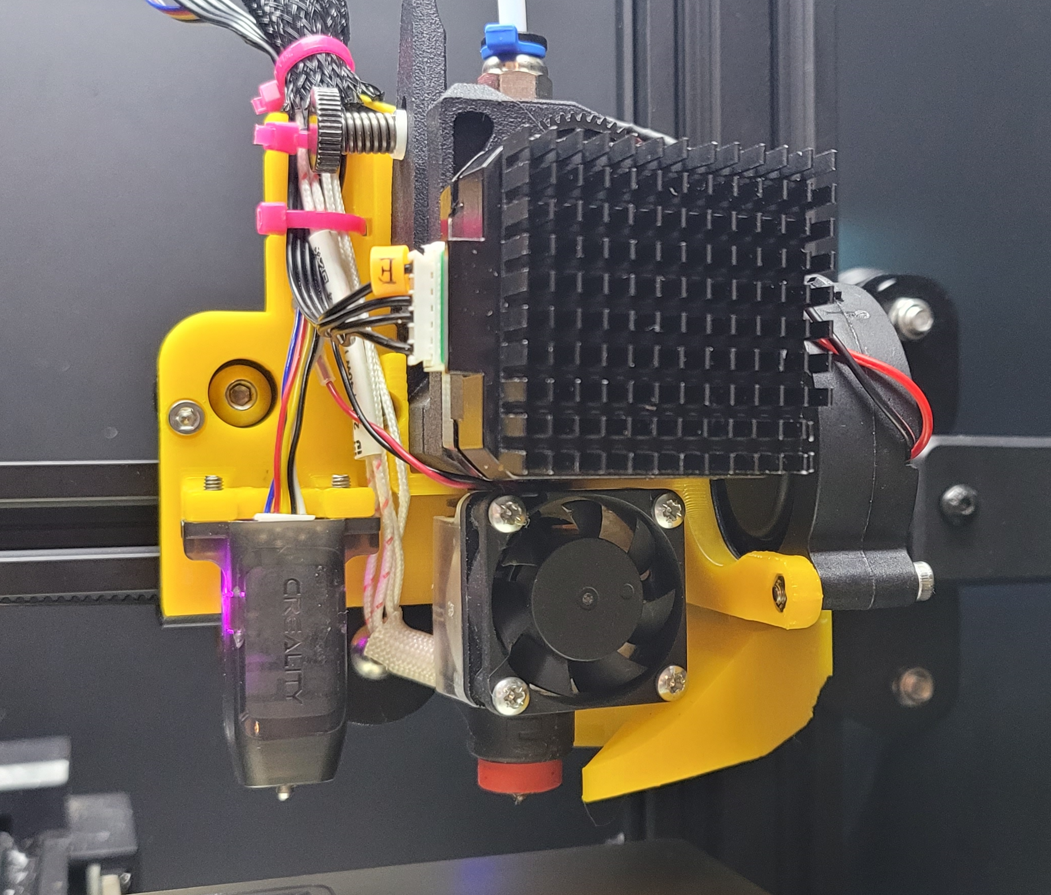
- Printer: Ender 3 Pro with BMG E3D V6 Direct Drive
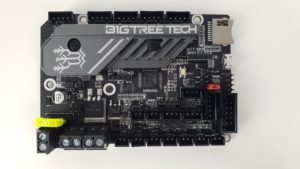
- Mainboard: BTT SKR Mini E3 V3
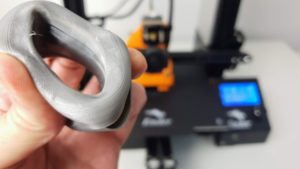
- Filament: Sunlu PLA+
- Nozzle: 0.4mm
- Firmware: Klipper with this config file
- Vrefs: X,Y,Z = 0.80A Peak = 0.58A RMS (corresponds to a VREF of 1.10V on Creality V4.2.7 mainboard) and E = 0.87A Peak = 0.62A RMS (corresponds to a VREF of 1.20V on Creality V4.2.7 mainboard)
Klipper Configuration
| 3d benchy racing 21’38” | Rapid prototyping | Super quality | Flexible TPU | |||
| [extruder] nozzle_diameter | – | For 0.4mm Nozzle: 0.4 For 0.8mm Nozzle: 0.8 | – | – | ||
| [extruder] filament_diameter | – | 1.75 | – | – | ||
| [extruder] max_extrude_only_velocity | – | Default | – | – | ||
| [extruder] max_extrude_only_accel | – | Default | – | – | ||
| [extruder] pressure_advance | – | For E3D V6: 0.04 For E3D Volcano: 0.02 | – | – | ||
| [extruder] pressure_advance_smooth_time | – | 0.04 | – | – | ||
| [printer] max_velocity | – | 300 | – | – | ||
| [printer] max_accel | – | For 0.4mm Nozzle: 3000 For 0.8mm Nozzle: 1000 | – | – | ||
| [printer] max_accel_to_decel | 3000 | 1000 | 1000 | 1000 | ||
| [printer] square_corner_velocity | – | 5 | – | |||
| [bltouch] z_offset | – | For 230/70°C: – For glass bed – For E3D V6: 2 – For E3D Volcano: 2.5 For magnetic bed, decrease these values by 0.2 | – | |||
| [input_shaper] shaper_freq_x | – | For BMG E3D V6 Direct Drive: 77.8 For BMG E3D Volcano Direct Drive: 77.0 | – | |||
| [input_shaper] shaper_type_x | – | 3hump_ei | – | |||
| [input_shaper] shaper_freq_y | – | For glass bed: 33.6 For magnetic bed: 38.6 | – | |||
| [input_shaper] shaper_type_y | – | mzv | – |
Ultimaker Cura Settings for Klipper
| 3d benchy racing 21’38” | Rapid prototyping | Super quality | Flexible TPU | |
| [Quality] Layer Height | 0.25mm | 0.25mm | 0.20mm | 0.20mm |
| [Quality] Initial Layer Height | 0.25mm | 0.25mm | 0.20mm | 0.20mm |
| [Quality] Line Width | 0.5mm | 0.4mm | 0.4mm | 0.4mm |
| [Walls] Wall Line Count | 2 | 2 | 3 | 2 |
| [Walls] Optimize Wall Printing Order | True | True | True | True |
| [Walls] Wall Ordering | Inside To Outside | Inside To Outside | Inside To Outside | Inside To Outside |
| [Walls] Compensate Outer Wall Overlap | False | False | False | False |
| [Walls] Compensate Inner Wall Overlaps | False | True | True | True |
| [Walls] Fill Gaps Between Walls | Nowhere | Everywhere | Everywhere | Everywhere |
| [Walls] Filter Out Tiny Gaps | True | True | False | False |
| [Walls] Z Seam Alignment | Shortest | User Specified | User Specified | User Specified |
| [Walls] Z Seam Position | n/a | Back | Back | Back |
| [Walls] Seam Corner Preference | None | Smart Hiding | Smart Hiding | Smart Hiding |
| [Top/Bottom] Top Layers | 3 | 3 | 5 | 3 |
| [Top/Bottom] Bottom Layers | 3 | 3 | 5 | 3 |
| [Top/Bottom] Top/Bottom Pattern | Zig Zag | Lines | Lines | Lines |
| [Top/Bottom] Top/Bottom Initial Layer | Zig Zag | Lines | Lines | Lines |
| [Top/Bottom] Monotonic Top/Bottom Order | False | True | True | True |
| [Infill] Infill Density | 6% | 15% | 6% | 4% |
| [Infill Pattern] | Zig Zag | Gyroid | Gyroid | Gyroid |
| [Material] Printing Temperature | 230°C | 220°C (210°C for black) | 220°C (190°C for black) | 230°C |
| [Material] Print Temperature Initial Layer | 230°C | 220°C | 220°C | 220°C |
| [Material] Build Plate Temperature | 70°C | 50°C (with glue) 70°C (no glue) | 50°C (with glue) 70°C (no glue) | 50°C (no glue) |
| [Material] Flow | 100% | 100% | 100% | 100% |
| [Speed] Print Speed | 150mm/s | 150mm/s | 120mm/s | 50mm/s |
| [Speed] Infill Speed | 150mm/s | 150mm/s | 120mm/s | 50mm/s |
| [Speed] Outer Wall Speed | 150mm/s | 120mm/s | 60mm/s | 25mm/s |
| [Speed] Inner Wall Speed | 150mm/s | 150mm/s | 120mm/s | 25mm/s |
| [Speed] Top/Bottom Speed | 150mm/s | 150mm/s | 60mm/s | 25mm/s |
| [Speed] Support Infill Speed | 150mm/s | 120mm/s | 120mm/s | 25mm/s |
| [Speed] Support Roof Speed | 150mm/s | 120mm/s | 120mm/s | 25mm/s |
| [Speed] Support Floor Speed | 150mm/s | 120mm/s | 120mm/s | 25mm/s |
| [Speed] Travel Speed | 300mm/s | 250mm/s | 250mm/s | 150mm/s |
| [Speed] Initial Layer Speed | 150mm/s | 30mm/s | 30mm/s | 20mm/s |
| [Speed] Initial Layer Speed Travel Speed | 300mm/s | 150mm/s | 150mm/s | 100mm/s |
| [Speed] Skirt/Brim Speed | 60mm/s | 60mm/s | 60mm/s | 20mm/s |
| [Speed] Number of Slower Layers | 1 | 1 | 1 | 2 |
| [Speed] Z Hop Speed | n/a | n/a | 5mm/s | n/a |
| [Travel] Enable Retraction | Enabled | Enabled | Enabled | Enabled |
| [Travel] Retraction Distance | 0.3mm | 1mm | 1mm | 1mm |
| [Travel] Retraction Speed | 80mm/s | 50mm/s | 50mm/s | 50mm/s |
| [Travel] Retraction Extra Prime Amount | 0mm3 | 0mm3 | 0mm3 | 0mm3 |
| [Travel] Combing Mode | Off | Not in Skin | Off | Not in Skin |
| Z Hop When Retracted | False | False | True | False |
| Z Hop Height | n/a | n/a | 0.24mm | n/a |
| [Cooling] Enable Print Cooling | Enabled | Enabled | Enabled | Disabled |
| [Cooling] Fan Speed | 100% | 100% | 100% | 0% |
| [Cooling] Initial Fan Speed | 0% | 0% | 0% | n/a |
| [Cooling] Regular Fan Speed at Layer | 1 | 2 | 2 | n/a |
| [Cooling] Minimum Layer Time | 0s | 15s | 15s | 15s |
| [Cooling] Minimum Speed | n/a | n/a | 15mm/s | 10mm/s |
| [Cooling] Lift Head | False | False | False | False |
| [Support] Generate Support | False | True | True | True |
| [Support] Support Structure | n/a | Normal | Normal | Normal |
| [Support] Support Placement | n/a | Touching Buildplate | Touching Buildplate | Touching Buildplate |
| [Support] Support Overhang Angle | n/a | 38° (calculated) | 45° (calculated) | 38° (calculated) |
| [Support]Support Pattern | n/a | Zig Zag | Zig Zag | Zig Zag |
| Build Plate Adhesion Type | Skirt/Brim | Skirt/Brim | Skirt/Brim | Skirt |
| Skirt Line Count | 1 | 1 | 3 | 3 |
| Skirt Distance | 10mm | 10mm | 10mm | 10mm |
| Skirt/Brim Minimum Length | 100mm | 100mm | 250mm | 250mm |