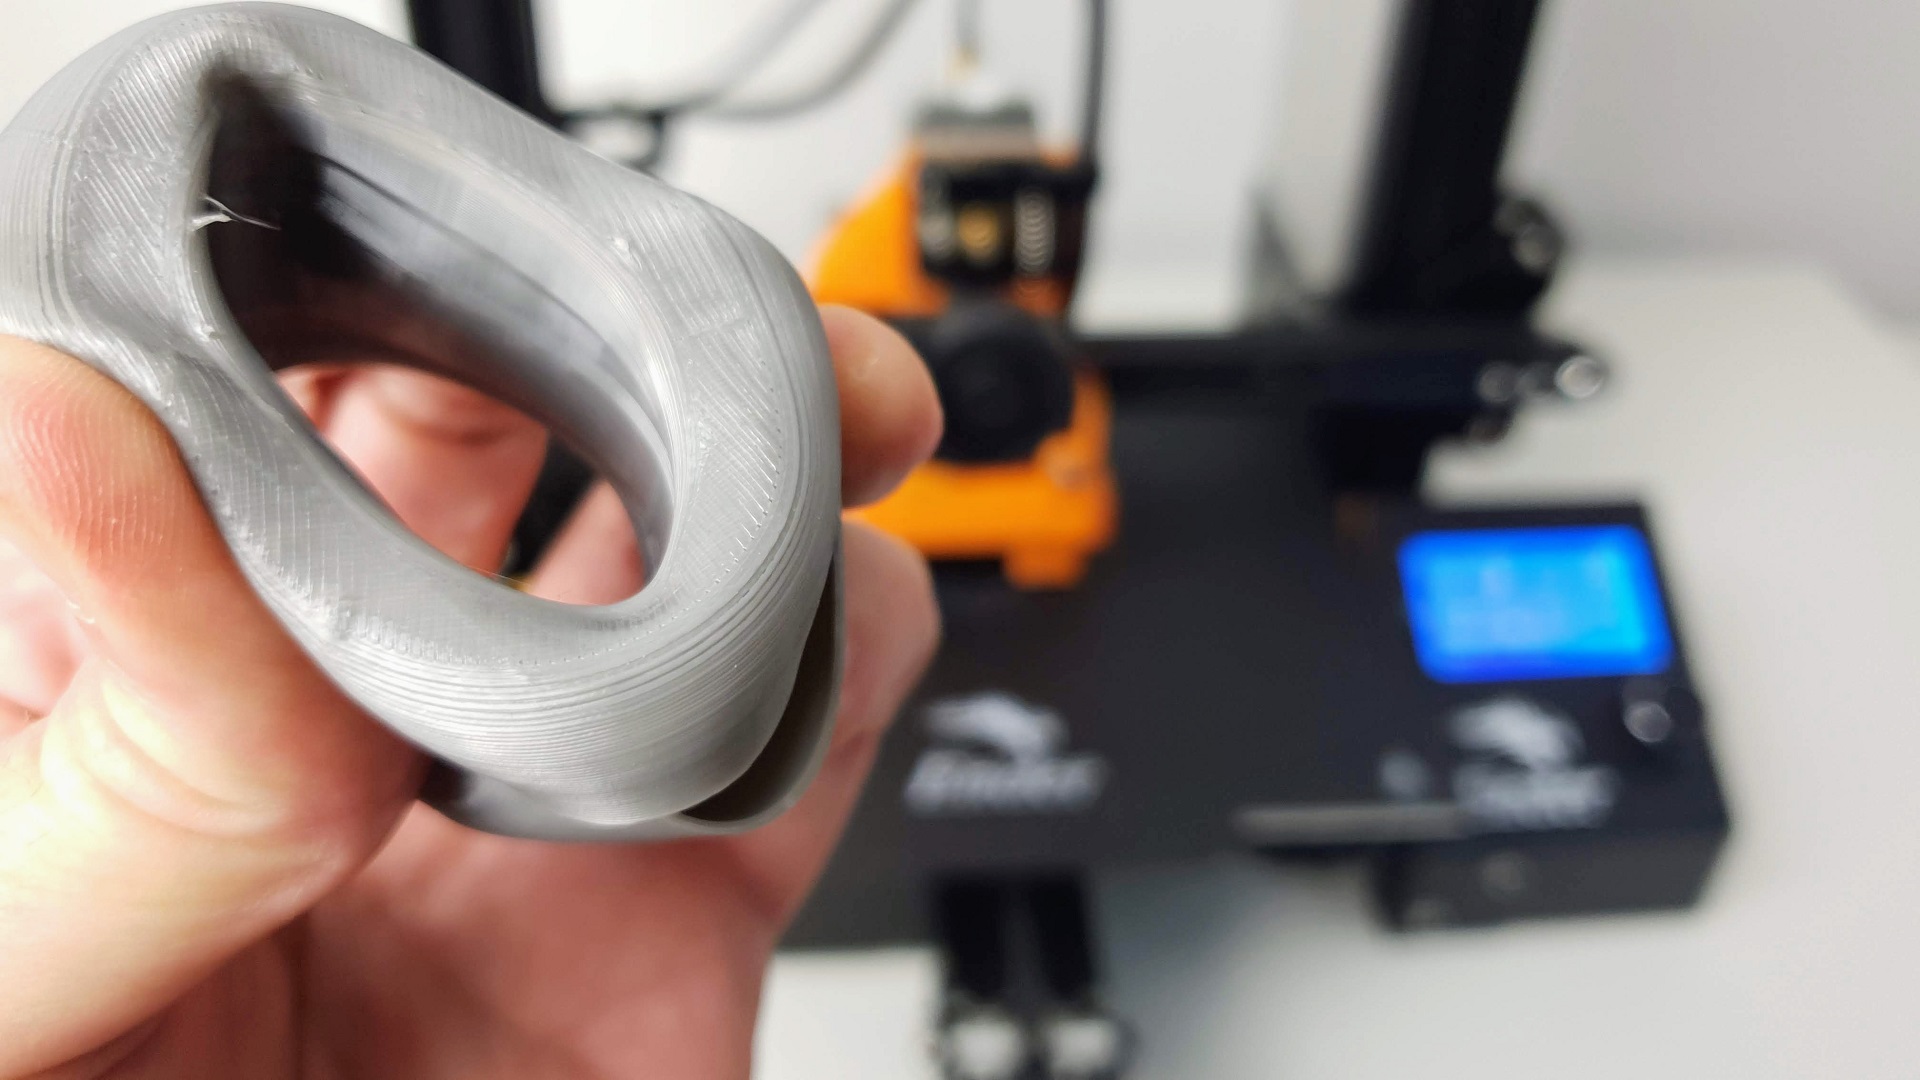
Flexible filaments are notoriously difficult to print due to their elasticity. I think there are basically 2 reasons:
- Most 3D printers are not designed to print flexible filaments out of the box. I present 2 simple and cost free upgrades you should consider before printing flexible filaments
- The software settings for printing flexible filaments are very different from the normal settings used to print PLA
Ender 3 upgrades to print TPU
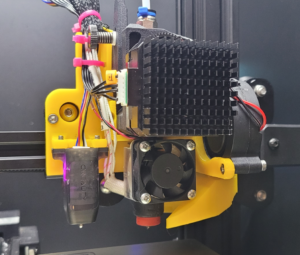
The first upgrade I highly recommend to print TPU is to convert your 3D printer to Direct Drive. The distance between the drive gear and the melt zone of the hot-end needs to be as short as possible to efficiently feed the filament into the nozzle. Additionally, the pathway through which the filament travels into the melt zone should have tight tolerances to prevent the filament from kinking or coiling inside.
Upgrading the Ender 3 Pro to Direct Drive can be done easily and at no cost, using only 3D printed parts. I released a video showing step by step how to do it using the SpeedDrive v1 from sashalex007
The second upgrade that is worth considering is to mount the filament spool’s hub on bearings to allow the spool to spin as freely as possible. Reducing the resistance from the filament spool is beneficial as it allows for a consistent and steady feed rate. Believe it or not, this spool upgrade has a non negligible impact on the overall printing quality.
TPU print settings for Cura
| Layer Height | 0.2mm |
| Line Width | 0.4mm |
| Wall Thickness | 0.8mm (2 walls) |
| Top/Bottom Thickness | 0.8mm (2 layers) |
| Infill Density | 10% |
| Infill Pattern | Concentric |
| Printing Temperature | 220°C |
| Build Plate Temperature | 0°C |
| Print Speed | 20mm/s to 50mm/s |
| Enable Retraction | Disabled |
| Combing Mode | All |
| Enable Print Cooling | Disabled |
I use a concentric infill pattern with a 10% infill. The concentric infill pattern allows to support horizontal surfaces but keeps the part elastic. I initially used a cubic infill pattern, but the part was way too rigid.
For the printing temperature, Sunlu recommends to use a printing temperature between 205 and 230 degrees C. I tried several temperatures in this range and end up using 220 degrees C. Lower temperatures sometimes resulted in under-extrusion.
For the bed temperature, there is no need to heat up the bed for TPU therefore I use 30 degrees C.
Regarding printing speed: You want to print very slowly: 20 mm per second works very well. I managed to go up to 50 mm per second.
Flexible filaments typically print best using a slow and consistent feed rate. Because the material is elastic, it can be very difficult to control sudden changes in the print speed. Higher print speeds can cause the filament to compress and will most likely result in a jam. Slow and steady is the best approach.
Another thing is to disable retraction completely. Retractions can be particularly troublesome for flexible materials. The elastic nature of flexible filament makes it sensitive to quick movements such as retractions. I just switched retractions off.
Finally, I enabled Combing mode. Combing mode keeps the nozzle within already printed area when traveling. Instead of moving in a straight line from point A to point B, the software will actually choose a completely new path when moving between these points, with the goal of staying within the interior of the object so that there won’t be any oozing or stringing. I keep Combing mode enabled for PLA too, but for flexible filaments, it is a MUST.
I disabled cooling: No cooling is required to print TPU


