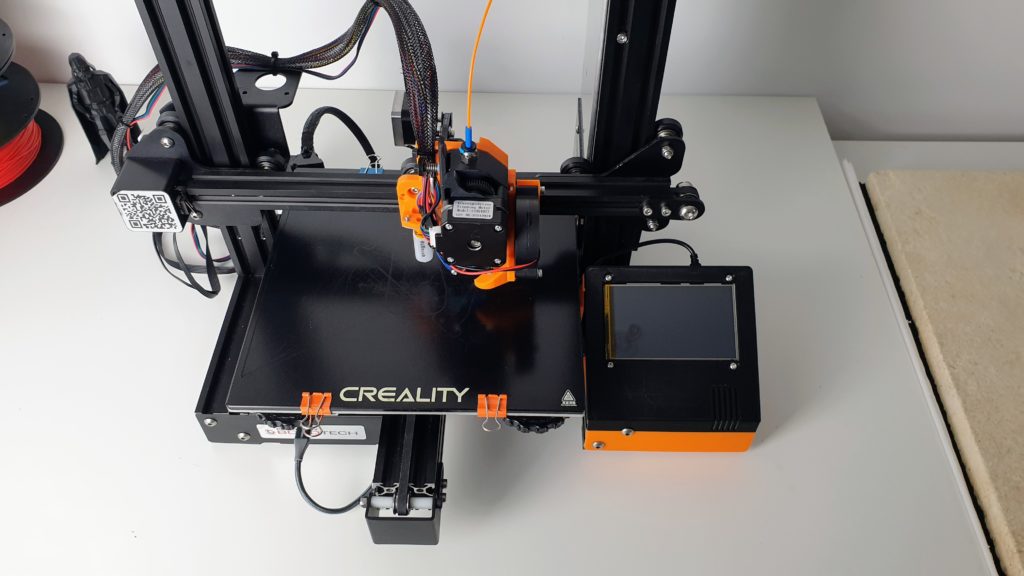
Add a touch screen interface for Klipper to your Ender 3 / Ender 3 Pro / Ender 3 V2 with a 4 inch LCD touch screen + KlipperScreen.
What you need to make the Ender 3 Touch Screen Interface for Klipper
| 3D PRINTED PARTS | |
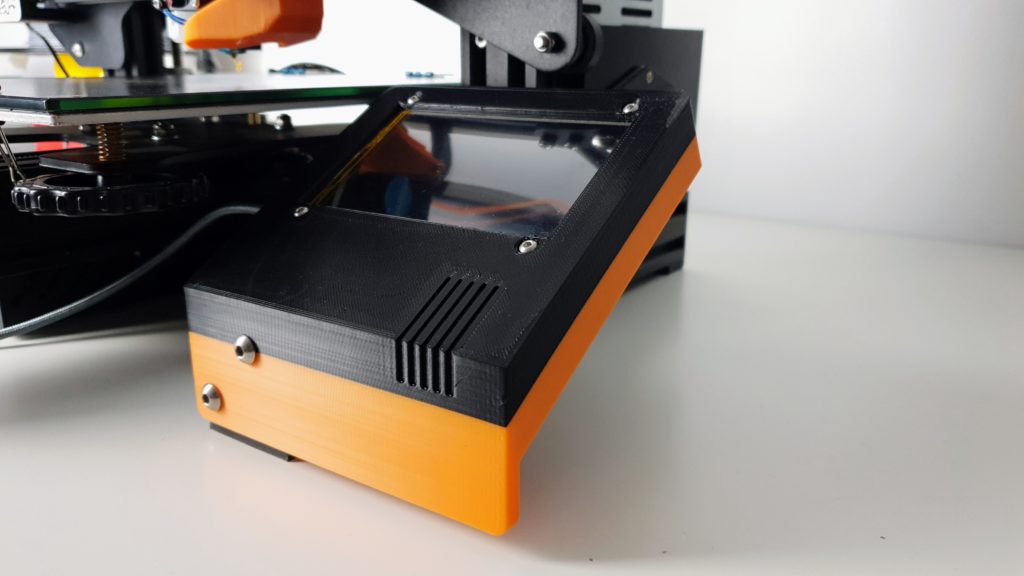
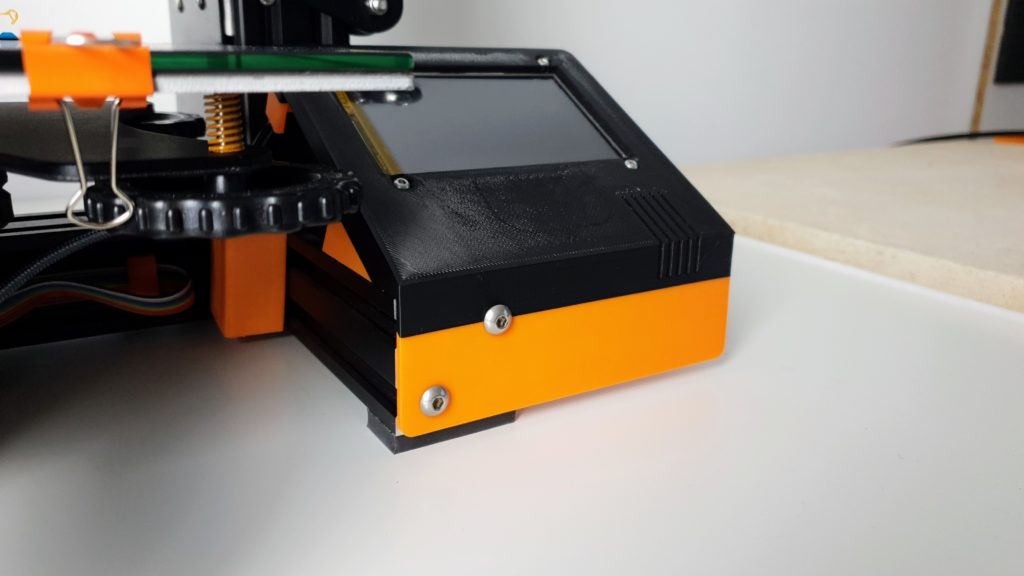
| Download Ender 3 (PRO/V2) Touch Screen Holder for Waveshare 4inch HDMI LCD | 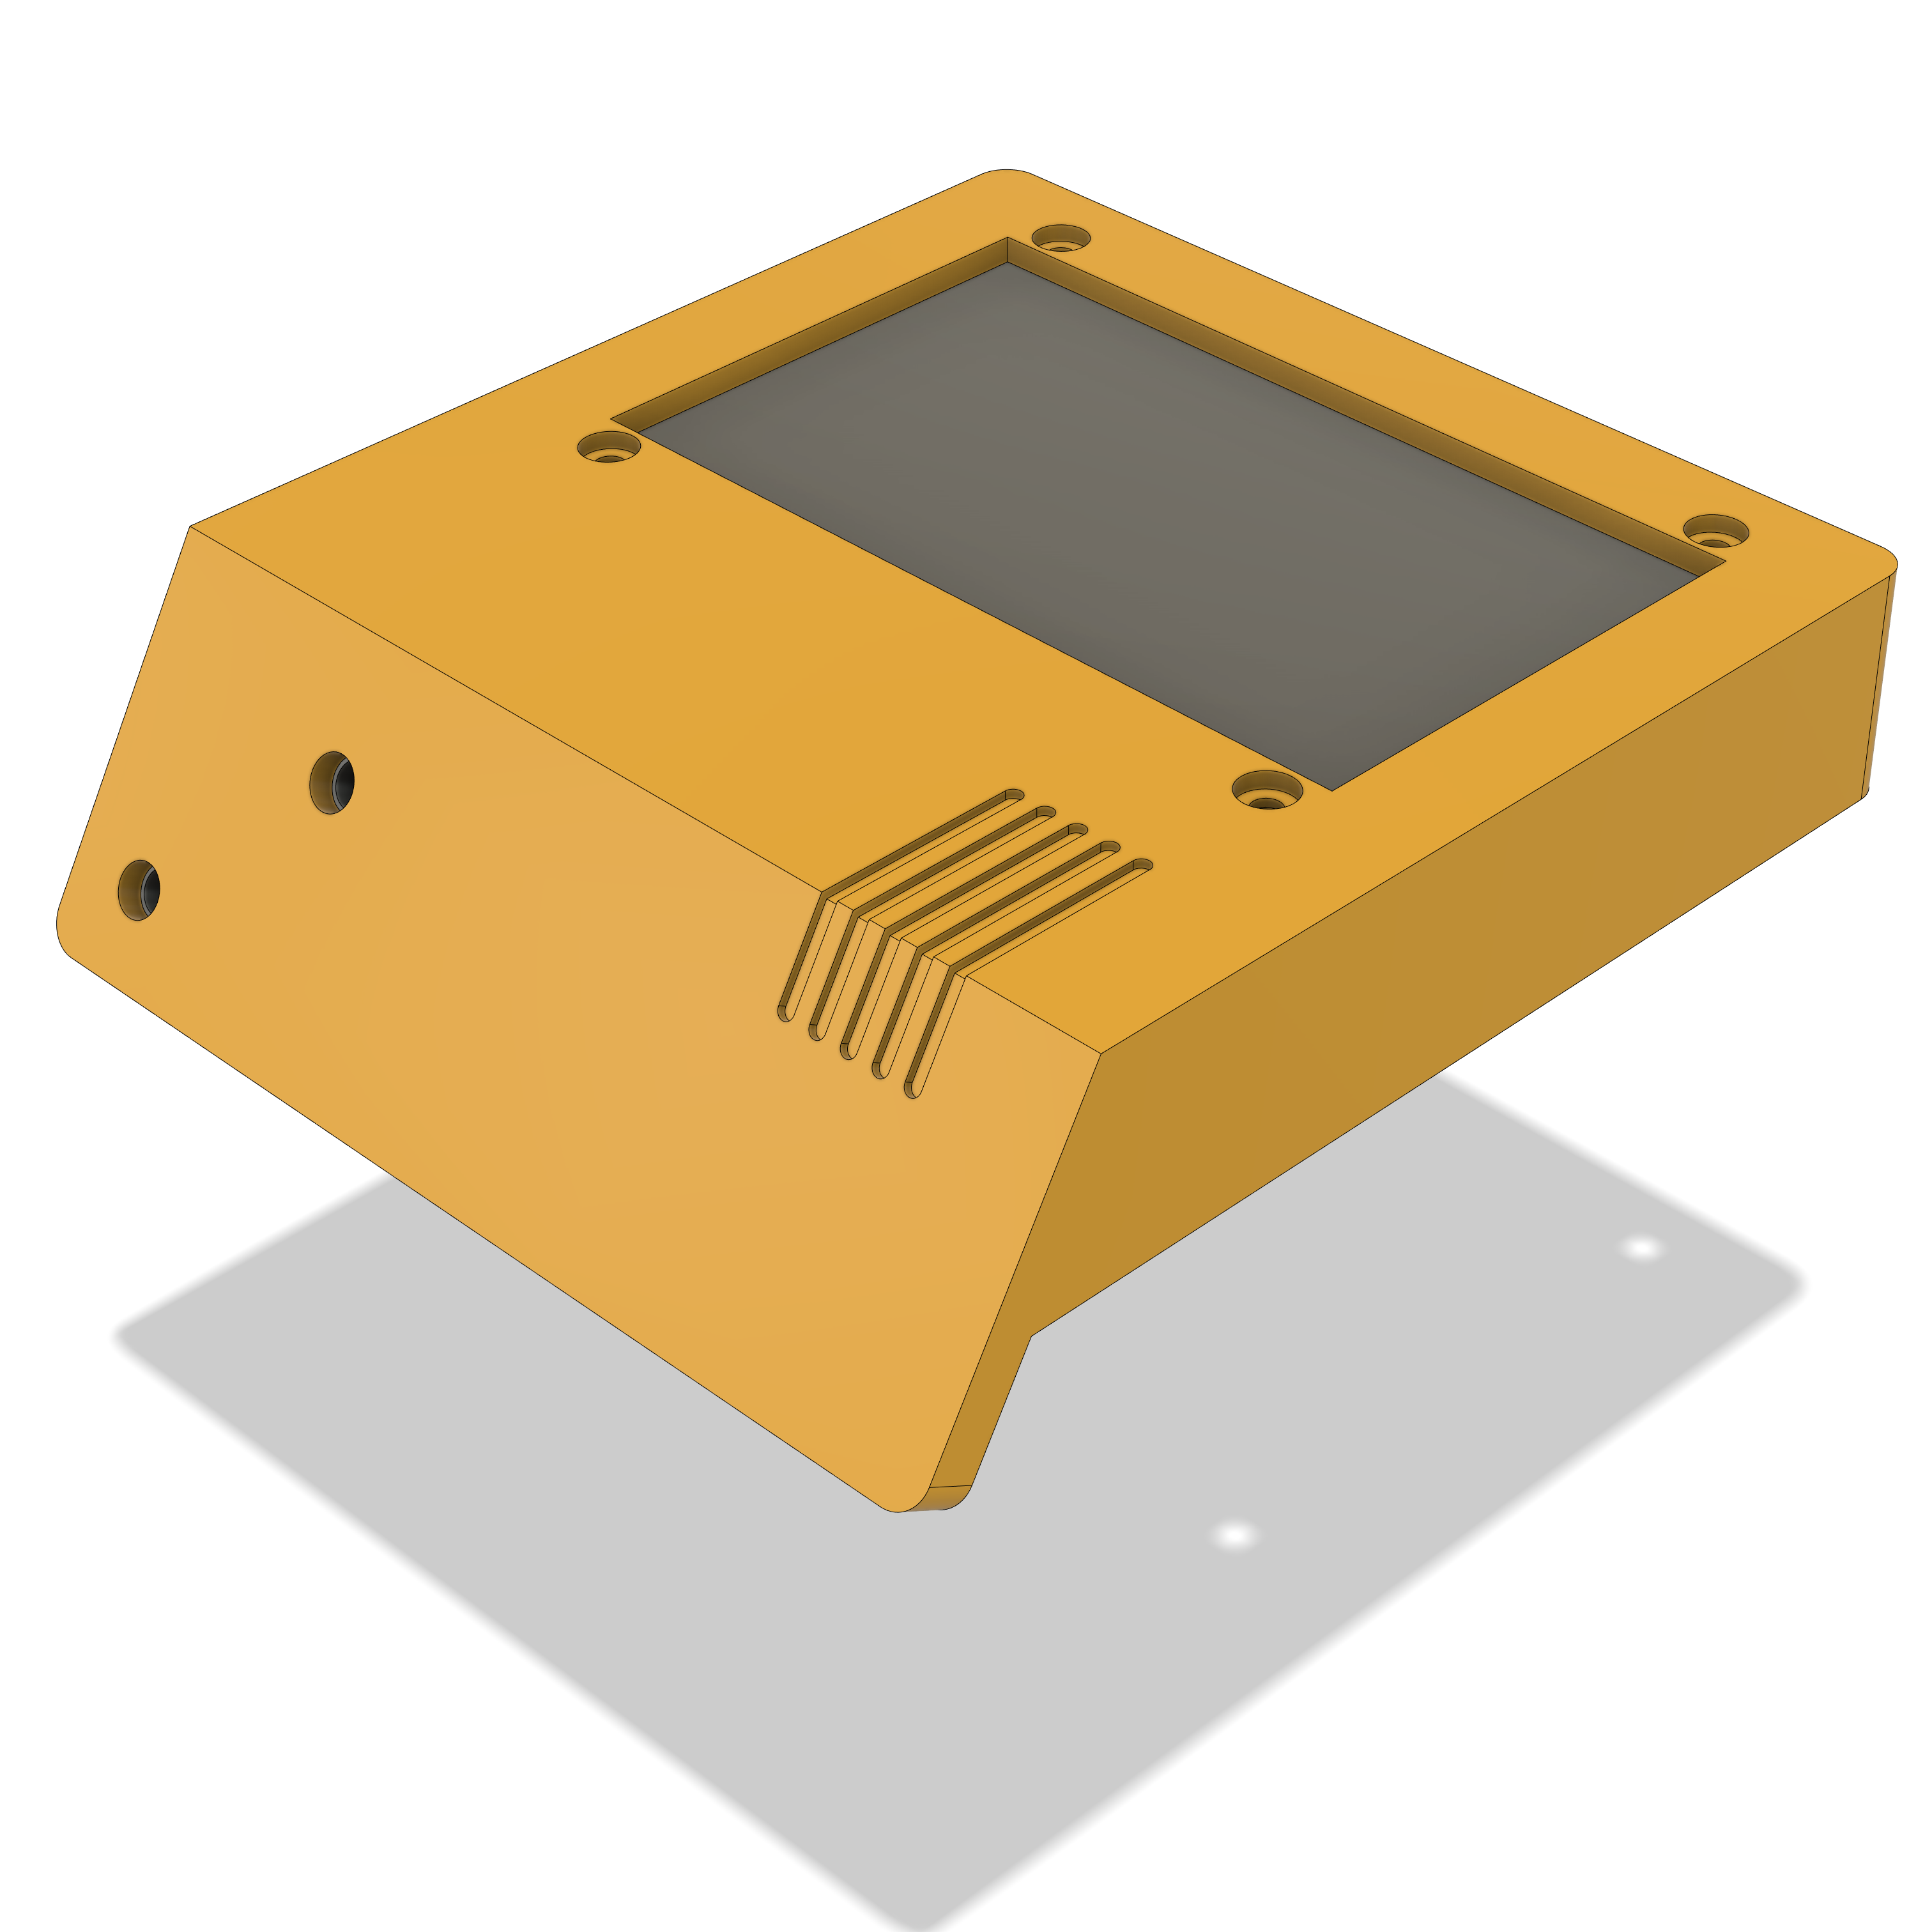 |
| TOUCH SCREEN | |
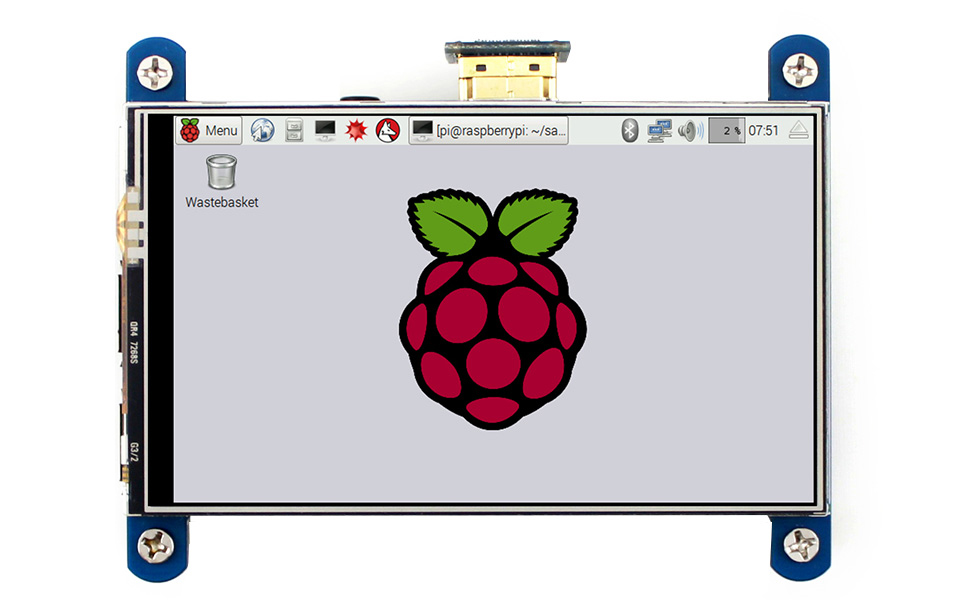
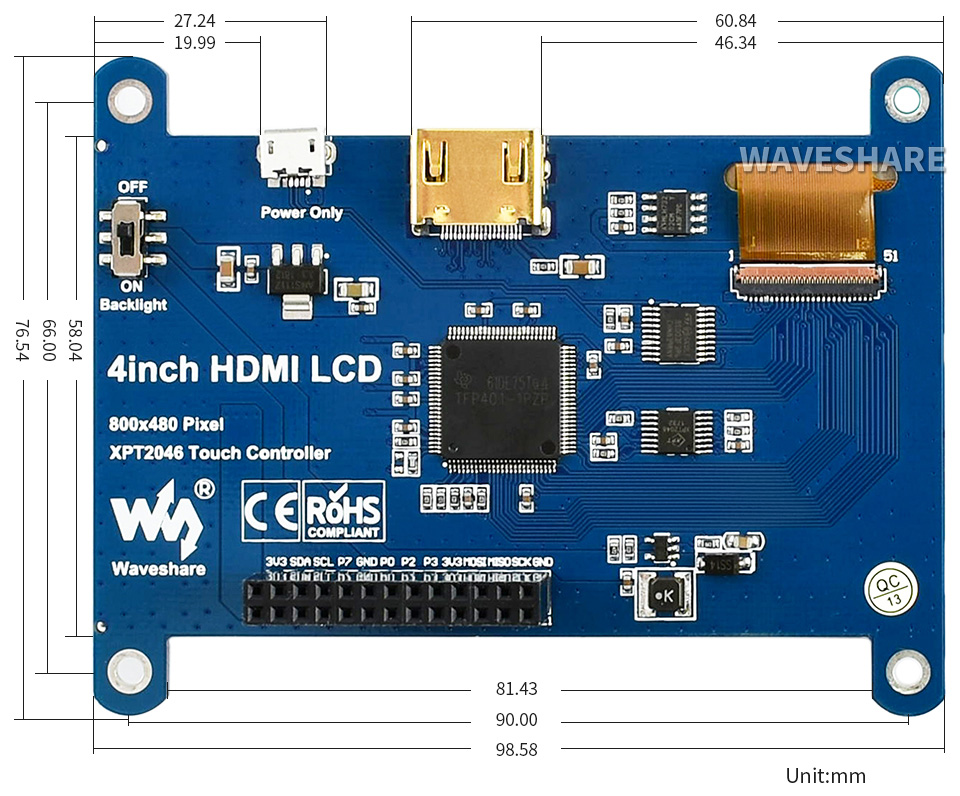
| Waveshare 4inch HDMI LCD 4inch Resistive Touch Screen LCD for Raspberry Pi 480×800, HDMI | 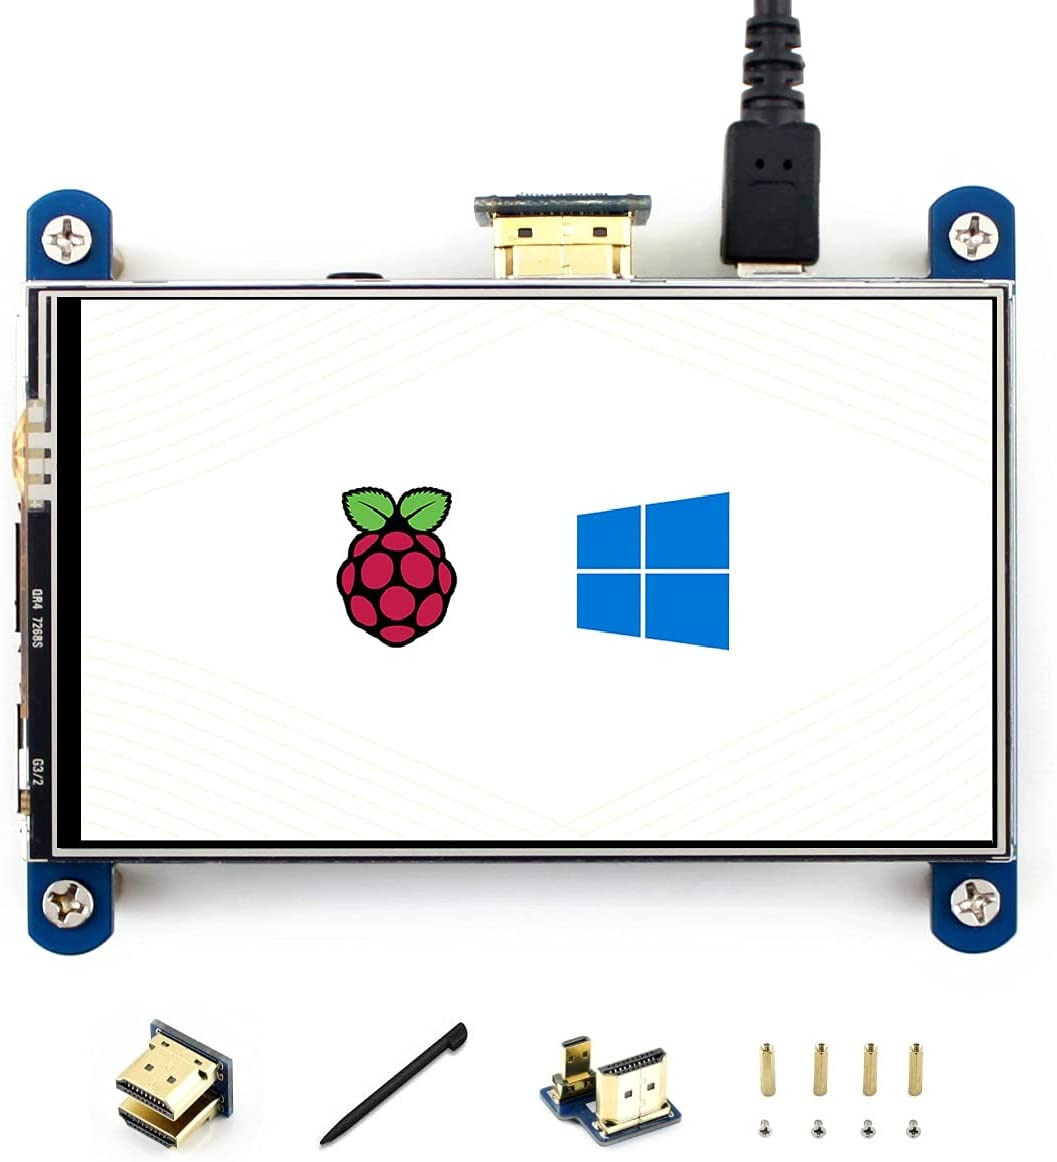 |
| 24V -> 5V DC-DC CONVERTER | |
| LM2596S DC-DC Buck Regulator Power Module XT60 Y-splitter cable | 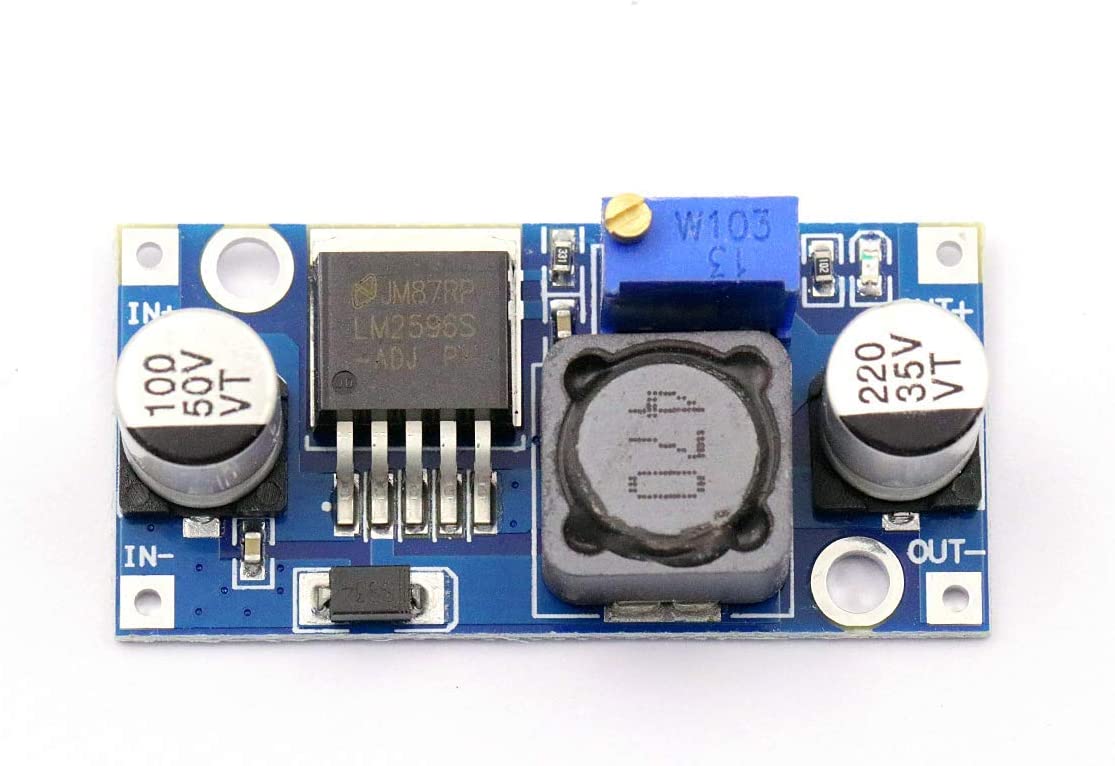 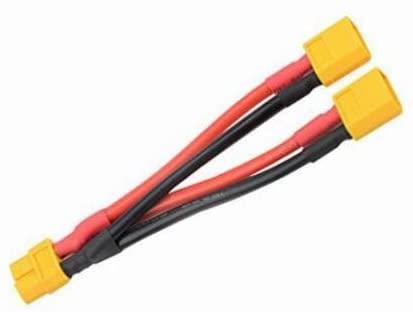 |
| HARDWARE | |
| M3x8mm bolts (x4) M3 nuts (x4) M3 Hex Socket Head Cap Screws Bolts Nuts Washers Assortment Kit | 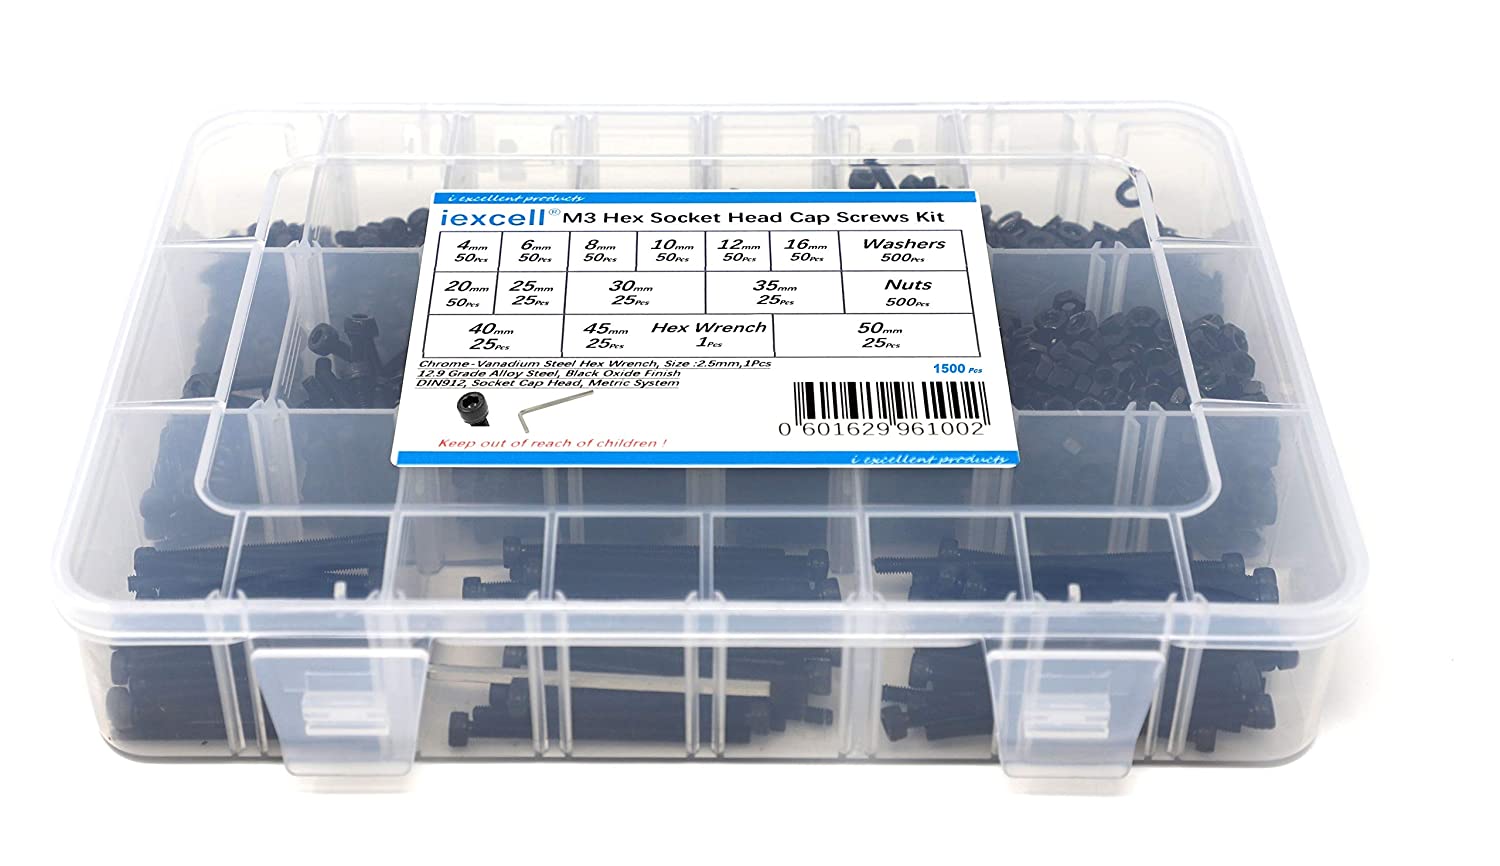 |
Waveshare 4inch HDMI LCD
The Ender 3 (PRO/V2) Touch Screen Holder has been designed for the Waveshare 4inch HDMI LCD Resistive Touch Screen.
You can find more information about this screen and installation instructions on Waveshare wiki.
Waveshare 4inch HDMI LCD Installation
Additional installation instructions for the screen can be found on Waveshare wiki.
- Plug the LCD into your Raspberry Pi
- Connect the HDMI Connector to both the HDMI interfaces on the LCD and the Pi
- Turn on the “backlight” switch on the back of the LCD
- Attach the LCD/Raspberry Pi assembly to the 3d printed touch screen holder with 4 M3x12mm bolts and 4 M3 nuts
- Attach the touch screen holder to the printer frame in place of the current screen
- Power the Raspberry Pi/Touch Screen assembly with 5V. As the Ender 3 only supplies 24V, you can either use a separate 5V power supply or connect to the 24V connector of the printer using a XT60 Y-splitter cable and reduce the voltage to 5V with a LM2596S DC-DC Buck Regulator Power Module
- Start the Raspberry Pi then log in to the Raspberry Pi terminal with SSH
- Add the the following code at the end of /boot/config.txt:
hdmi_group=2
hdmi_mode=87
hdmi_timings=480 0 40 10 80 800 0 13 3 32 0 0 0 60 0 32000000 3
dtoverlay=ads7846,cs=1,penirq=25,penirq_pull=2,speed=50000,keep_vref_on=0,swapxy=0,pmax=255,xohms=150,xmin=200,xmax=3900,ymin=200,ymax=3900
display_rotate=3
hdmi_drive=1
hdmi_force_hotplug=1- For the Raspberry Pi 4, you need to comment out dtoverlay=vc4-fkms-V3D in /boot/config.txt
- Make sure the Raspberry Pi is connected to Internet
- Install the touch driver by typing at the shell prompt:
cd ~
git clone https://github.com/waveshare/LCD-show.git
cd LCD-show/
chmod +x LCD4-800x480-show
./LCD4-800x480-show- Restart the Pi
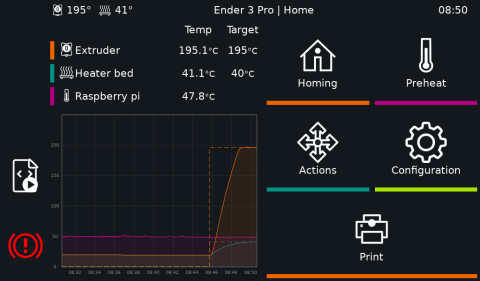
Moonraker configuration for KlipperScreen
Add 127.0.0.1 as trusted client for Moonraker in ~/klipper_config/moonraker.conf:
[authorization]
trusted_clients:
  127.0.0.1
KlipperScreen installation & configuration
cd ~
git clone https://github.com/jordanruthe/KlipperScreen.git
cd ~/KlipperScreen
./scripts/KlipperScreen-install.sh- Retrieve the Moonraker API key via a web browser. Navigate to http://ender3/access/api_key where ender3 is the host name or ip address of the Raspberry Pi. You should get something like:
{"result": "bcb55dfa7c0945a59c2f87acd21602e2"}- Add the Moonraker API key to ~/klipper_config/KlipperScreen.conf
[printer Ender3]
moonraker_api_key: bcb55dfa7c0945a59c2f87acd21602e2- You’re all set! Reboot your Pi
Measuring resonances with an ADXL345 accelerometer
In order to measure resonance frequencies of the printer with an ADXL345 accelerometer, the following changes must be made:
- Disconnect the touch screen from the Raspberry Pi
- Connect the ADXL345 accelerometer to the Raspberry Pi and configure the Raspberry Pi as per Klipper instructions
- Make sure ~/klipper_config/printer.cfg contains:
[mcu rpi]
serial: /tmp/klipper_host_mcu

[adxl345]
cs_pin: rpi:None

[resonance_tester]
accel_chip: adxl345
probe_points:
115,115,20- Comment out the lines below in /boot/printer.cfg:
hdmi_group=2
hdmi_mode=87
hdmi_timings=480 0 40 10 80 800 0 13 3 32 0 0 0 60 0 32000000 3
dtoverlay=ads7846,cs=1,penirq=25,penirq_pull=2,speed=50000,keep_vref_on=0,swapxy=0,pmax=255,xohms=150,xmin=200,xmax=3900,ymin=200,ymax=3900
display_rotate=3
hdmi_drive=1
hdmi_force_hotplug=1- reboot the Raspberry Pi
- Check the accelerometer. In the Fluidd Console, type:
ACCELEROMETER_QUERYCommon issues
- After installing the screen, Klipper reports an error: “MCU ‘rpi’ error during config: Unable to open spi device“
SOLUTION: Comment out the [mcu rpi], [adxl345] and [resonance_tester] sections in in ~/klipper_config/printer.cfg
- When connecting an ADXL345 accelerometer to measure the resonance frequencies of the printer, Klipper reports an error: “MCU ‘rpi’ shutdown: Unable to open spi device.“
SOLUTION: The touch screen and the linux MCU (which is used to measure resonance frequencies from the ADXL345) cannot be enabled at the same time. Comment the lines below in /boot/config.txt to disable the touch screen and reboot the Raspberry Pi:
hdmi_group=2
hdmi_mode=87
hdmi_timings=480 0 40 10 80 800 0 13 3 32 0 0 0 60 0 32000000 3
dtoverlay=ads7846,cs=1,penirq=25,penirq_pull=2,speed=50000,keep_vref_on=0,swapxy=0,pmax=255,xohms=150,xmin=200,xmax=3900,ymin=200,ymax=3900
display_rotate=3
hdmi_drive=1
hdmi_force_hotplug=1
Change log
- 20220222 : Initial Release: Ender3_Touchscreen_Holder_v14.stl
Makes