Make your own robots!
YouMakeRobots is a set of 3D printed parts, electronics and software that work together to provide a fun, accessible and affordable robot building experience.
Very similar to Lego bricks, the modular construction allows you to assemble simple components together to build a wide variety of robots.
It is easy to get started. For less than $100, you get all the electronics, no soldering required. The 3d printed parts are easy to print and print without support. The supplied code allows you to interactively control the robot from the command line.
- Make your own robots!
- Why I designed YouMakeRobots
- What you need to make your first robot
- 3D printing the parts
- YouMakeRobots assembly
- YouMakeRobots electronics
- Uploading the Arduino sketch
- Moving the servos manually using the Arduino serial monitor
- Now it’s your turn!
- Additional ressources for #YouMakeRobots
Why I designed YouMakeRobots
The project started because I wanted to design & build my own robots using my 3d printer.
I have 2 children and I want to introduce them to Robotics & Programming while having fun…
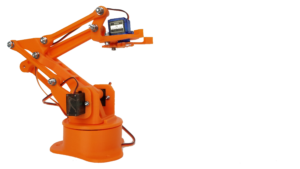
While there are some cool 3D printed robots out there, I was looking for something more creative, similar to Lego bricks. Something modular and expandable… A minimal set of 3D printed parts that I could put together in different ways to build the robot of my dreams! A kit that would allow me to build almost any robots from the simplest to the most complex : robotic arm, bipedal robot, quadruped robot, robot dog, spider robot, humanoid robot etc. You name it, you build it!
I started to search the Internet and found some commercial & professional robot kits. Exactly what I was looking for but out of reach in terms of budget. As I couldn’t find what I was looking for, I decided to create it! YouMakeRobots was born.
YouMakeRobots is inspired by some commercially available robot kits (Kondo KHR-3HV, Robotis Bioloid and XYZrobot Bolide in particular). With YouMakeRobots, I wanted to create an affordable 3D printed DIY robotics kit, using low cost and widely available hobby servo motors & electronics (Arduino / Raspberry Pi).
While YouMakeRobots looks like off-the-shelf robotic kits, it’s a complete overhaul. I designed all the parts to be compatible with 3D printing & standard servo motors/electronics. This is not an easy task due to constraints and tolerances of 3d printing!
All parts have been designed in Fusion 360 to be easily printable with an entry-level 3d printer (Creality Ender 3). After countless iterations, I am pretty happy with the result: for under $100 YouMakeRobots provides an entry level robotics kit that allows people to design & build their own robots!
The possibilities are endless because you can print as many parts as you want. The Arduino MEGA supports up to 48 servo motors!
Of course due to the use of low cost servos / electronics, the performance and quality is lower than what you would get with a high end robotics kit. But my goal is to reach a wider audience (kids, schools, hobbyists etc.) and get more people interested in Technology & Robotics!
Join #YouMakeRobots today!
What you need to make your first robot
| 4x | F1 | 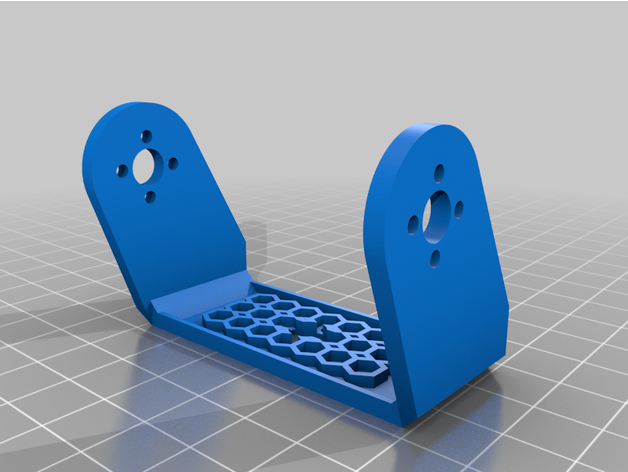 |
| 4x | F2 | 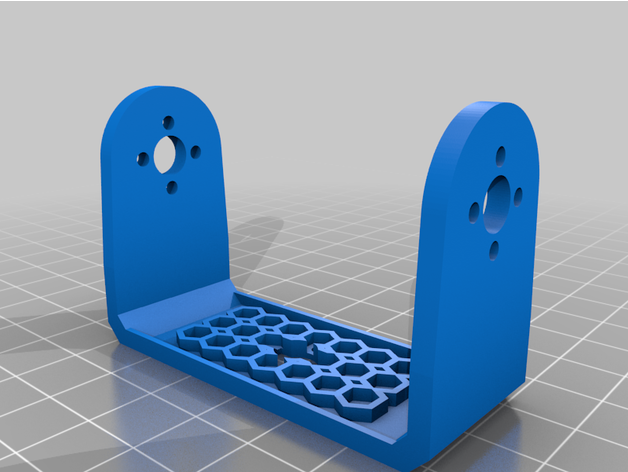 |
| 8x | F3 | 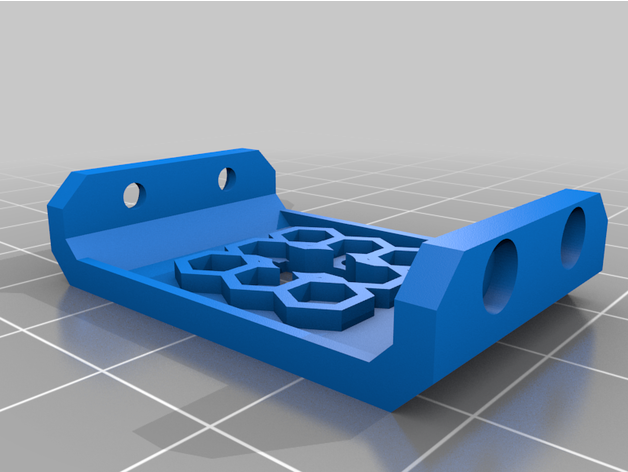 |
| 4x | F4 | 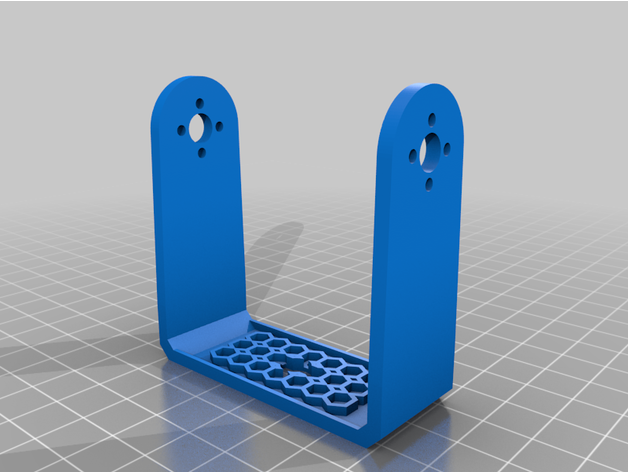 |
| 4x | F6 | 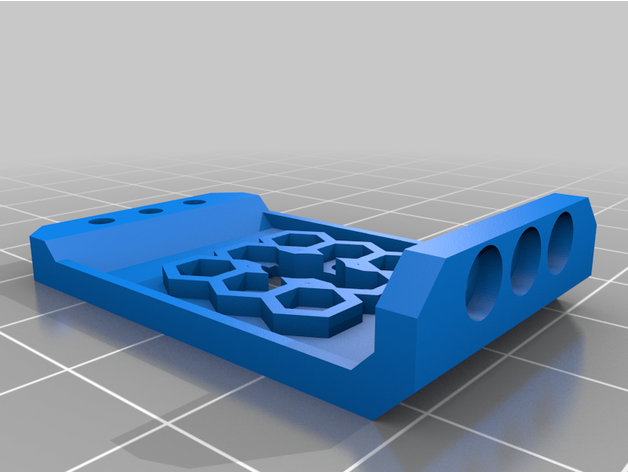 |
| 8x | Servo_Enclosure_Bottom | 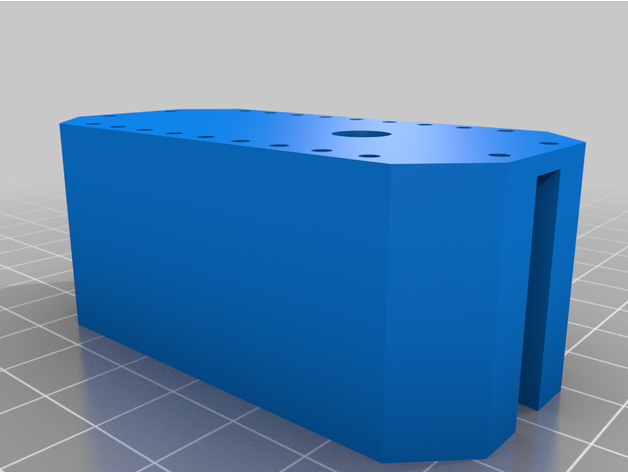 |
| 8x | Servo_Enclosure_Top | 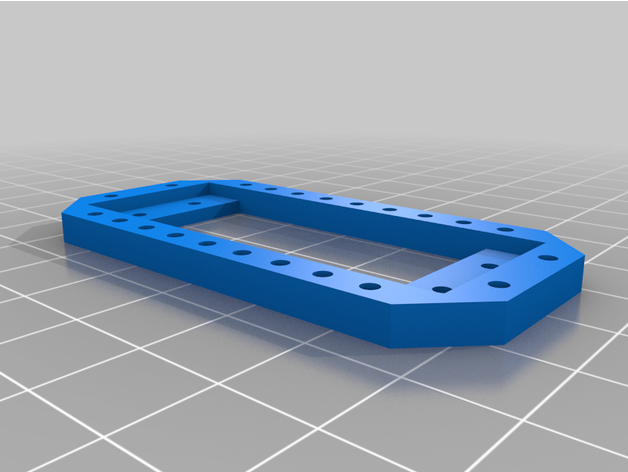 |
| 8x | Servo_Horn | 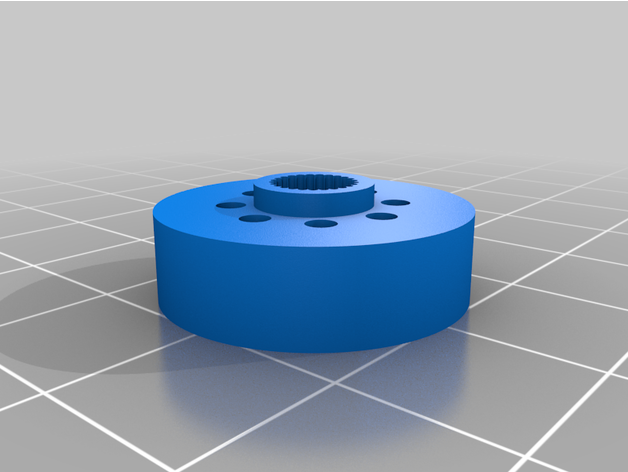 |
| 8x | Servo_Pin | 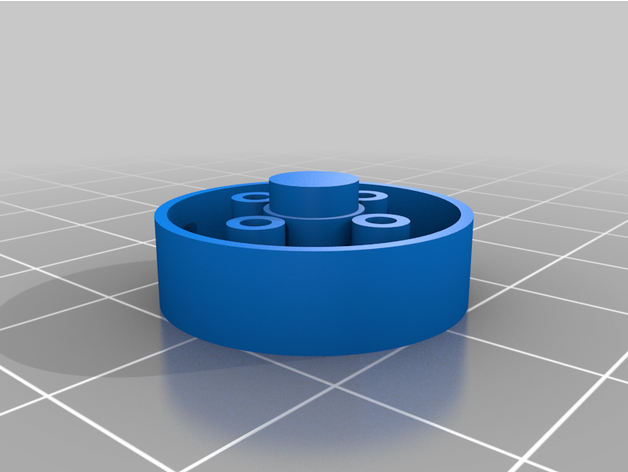 |
| 2x | F51 | 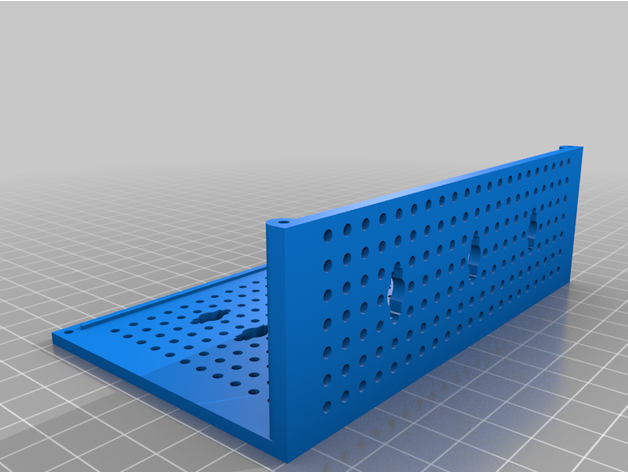 |
| 1x | Arduino Mega 2560 | 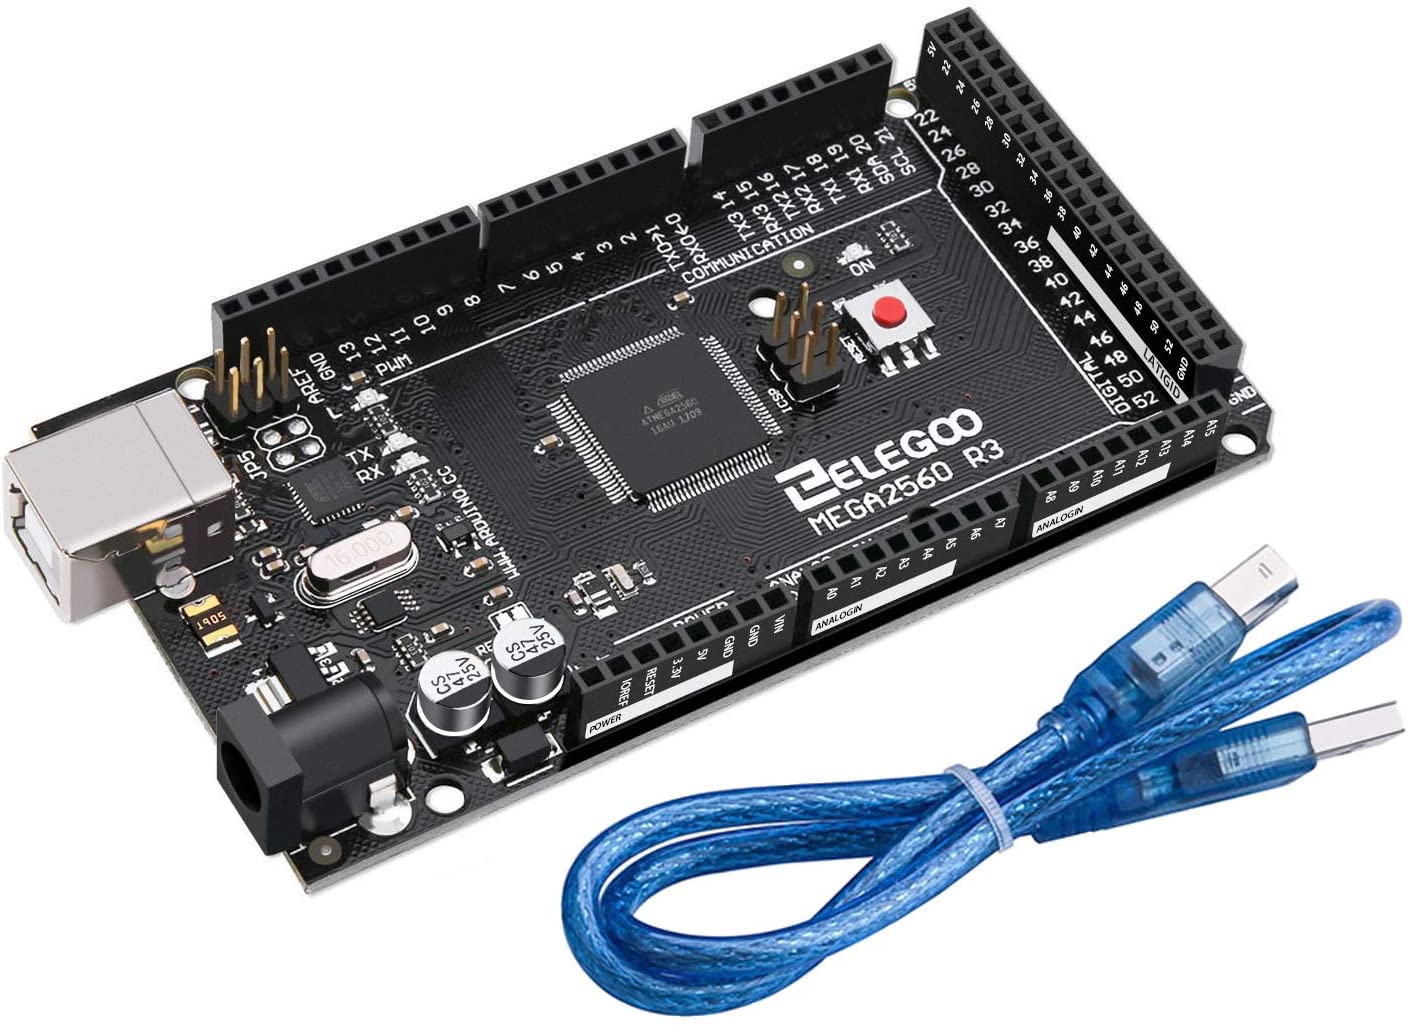 |
| 1x | MEGA Sensor Shield V1 for Arduino MEGA 2560 | 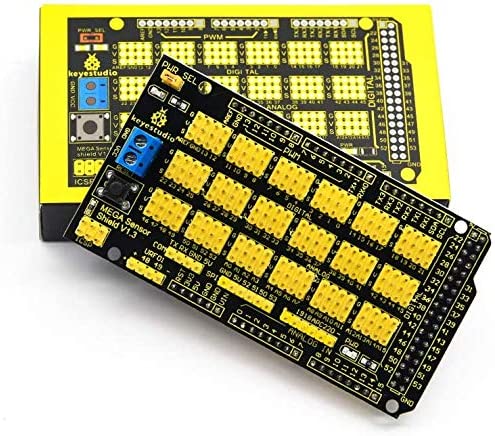 |
| 1x | XL4016E1 DC-DC converter 5-40V to 1.2-35V | 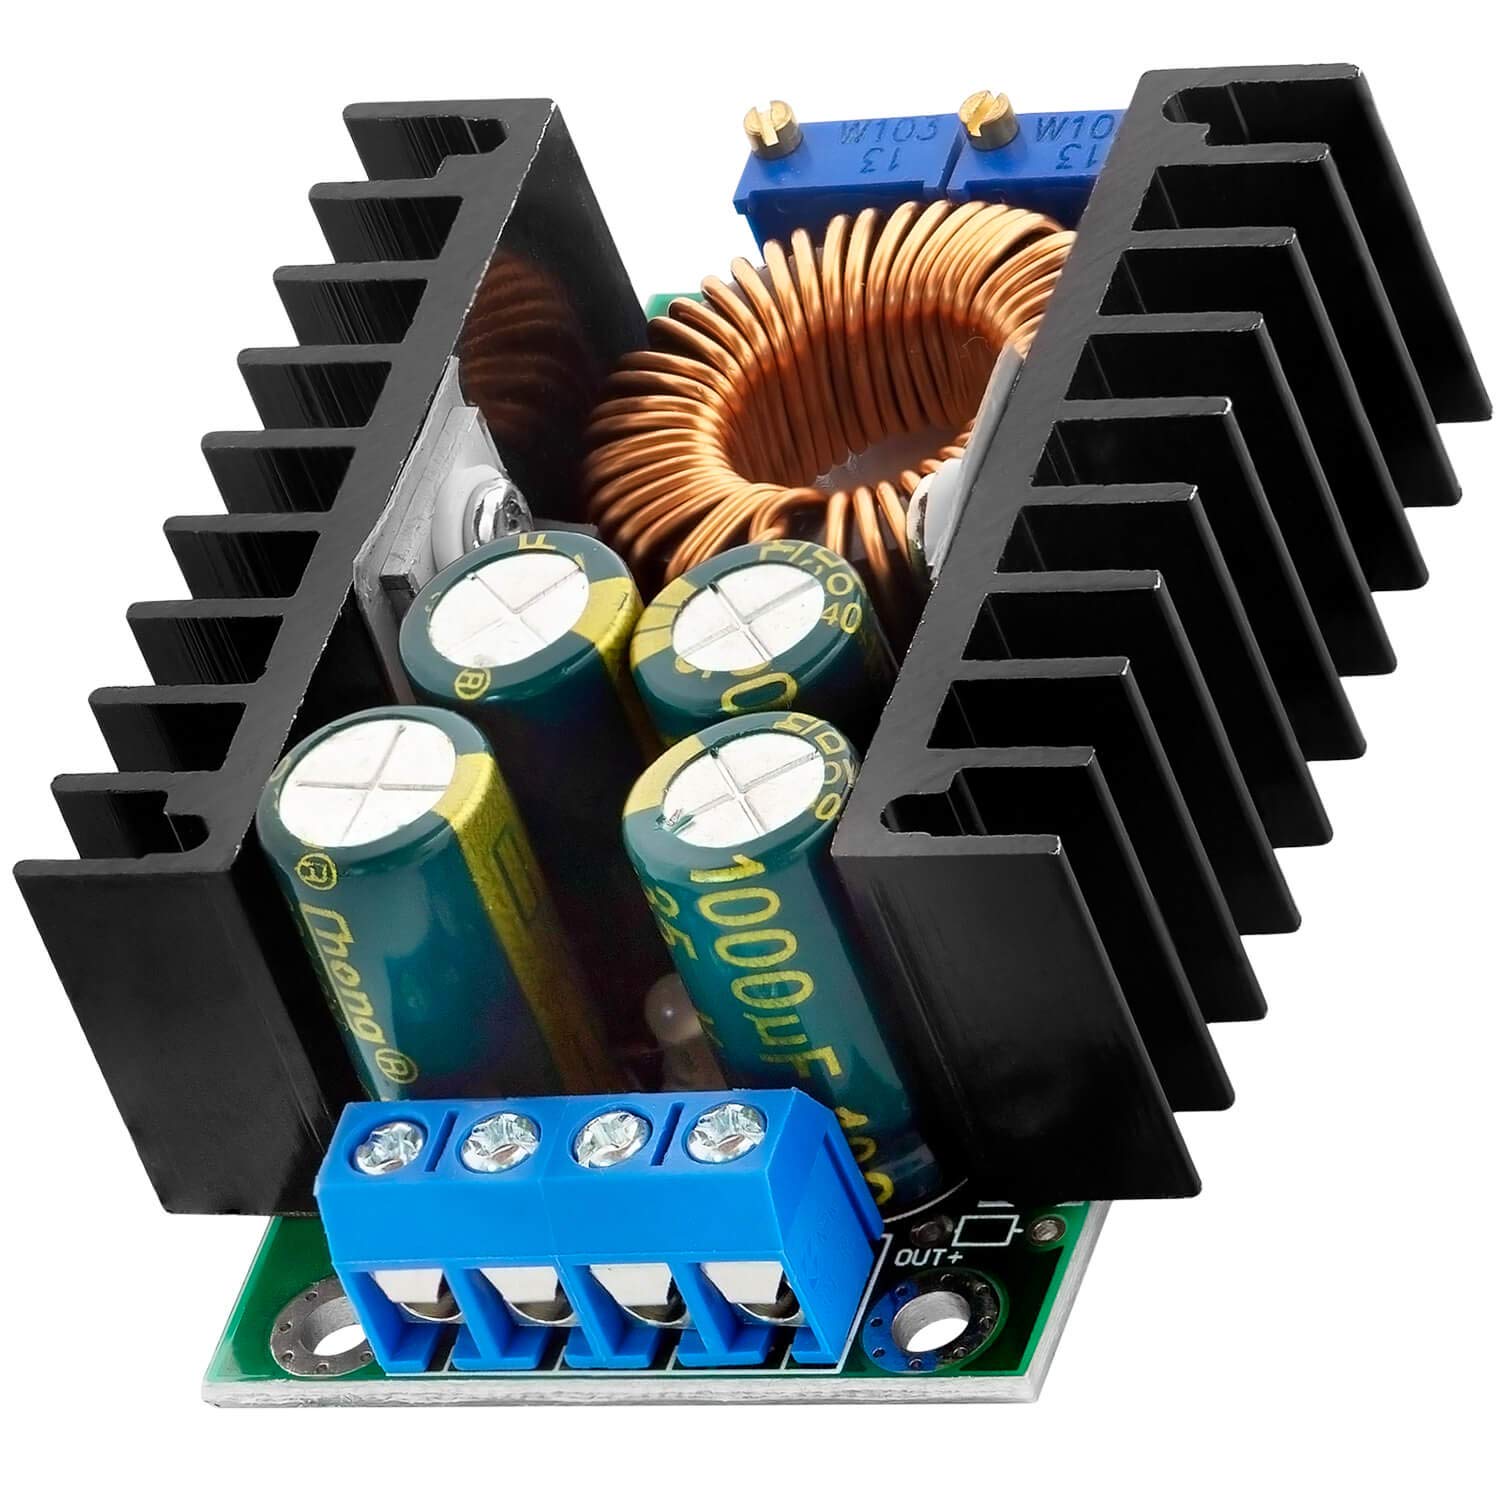 |
| 8x | Tower Pro MG996R Servo | 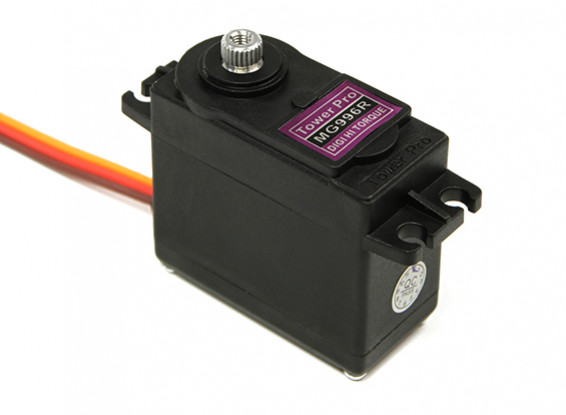 |
| 1x | Cable USB 2.0 A-Male to B-Male -10 feet (3 meters) | 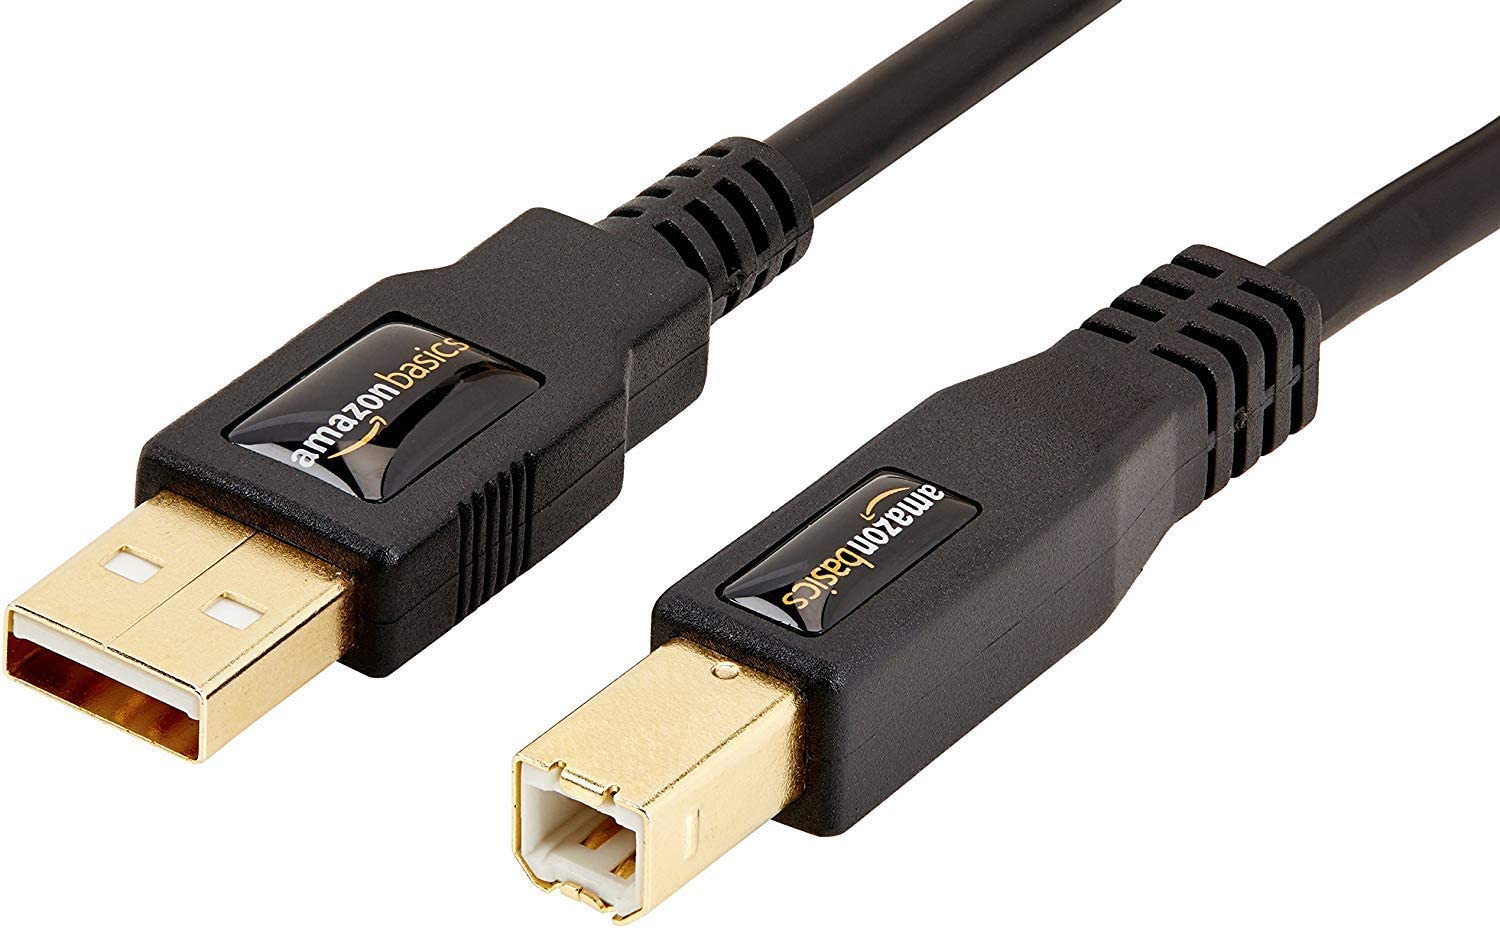 |
| 1x | Set of 4 hexagonal screwdrivers (1.5 mm, 2mm, 2.5mm and 3mm) | 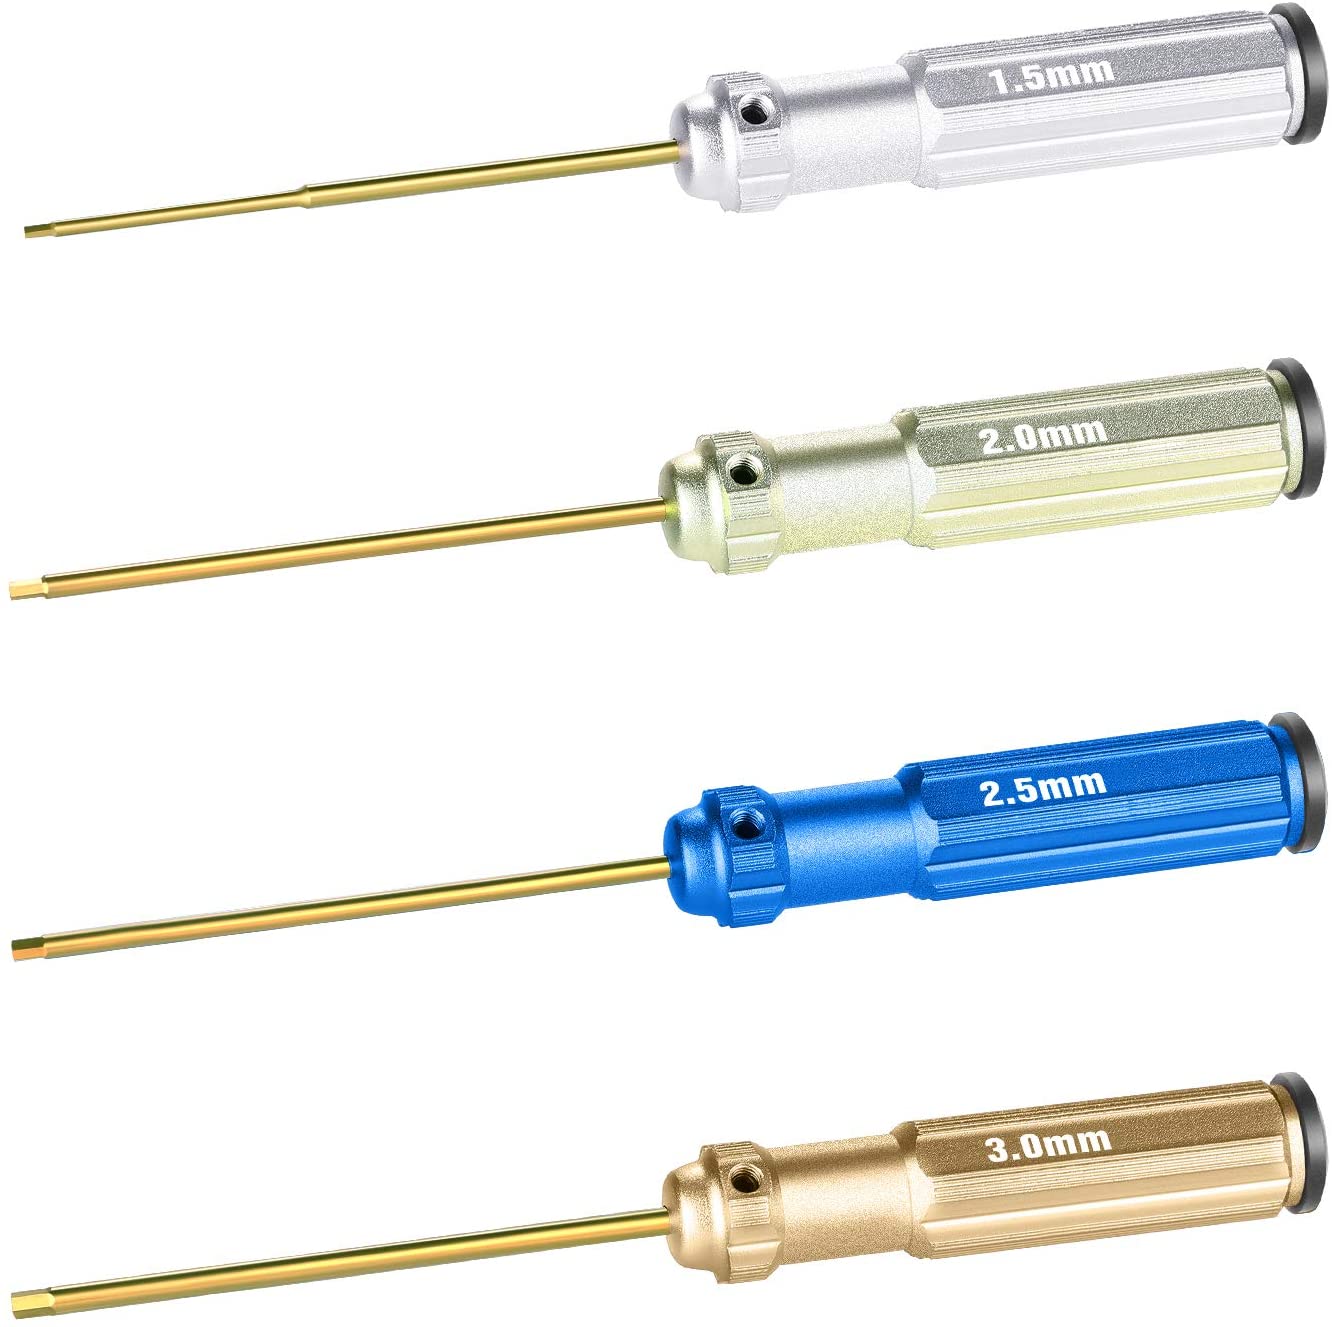 |
| 1x | 11.1V 3S 1000mAh Lithium-Polymer Battery | |
| 32x | M2x8mm self tapping screw | |
| 16x | M2x4mm Hex Socket Head Cap Screws | |
| 24x | M2x6mm Hex Socket Head Cap Screws | |
| 40x | M2x8mm Hex Socket Head Cap Screws | |
| 44x | M2 Nuts |
3D printing the parts
YouMakeRobots 3D printed parts are easy to print and print support free. In order to speed up the process, you can dispose multiple parts on the build plate.
The main difficulty with these parts is to get a good adhesion of the first layer. Do not hesitate to slow down the print speed to 10 mm/s or even 5 mm/s for the first layer if needed.
YouMakeRobots assembly
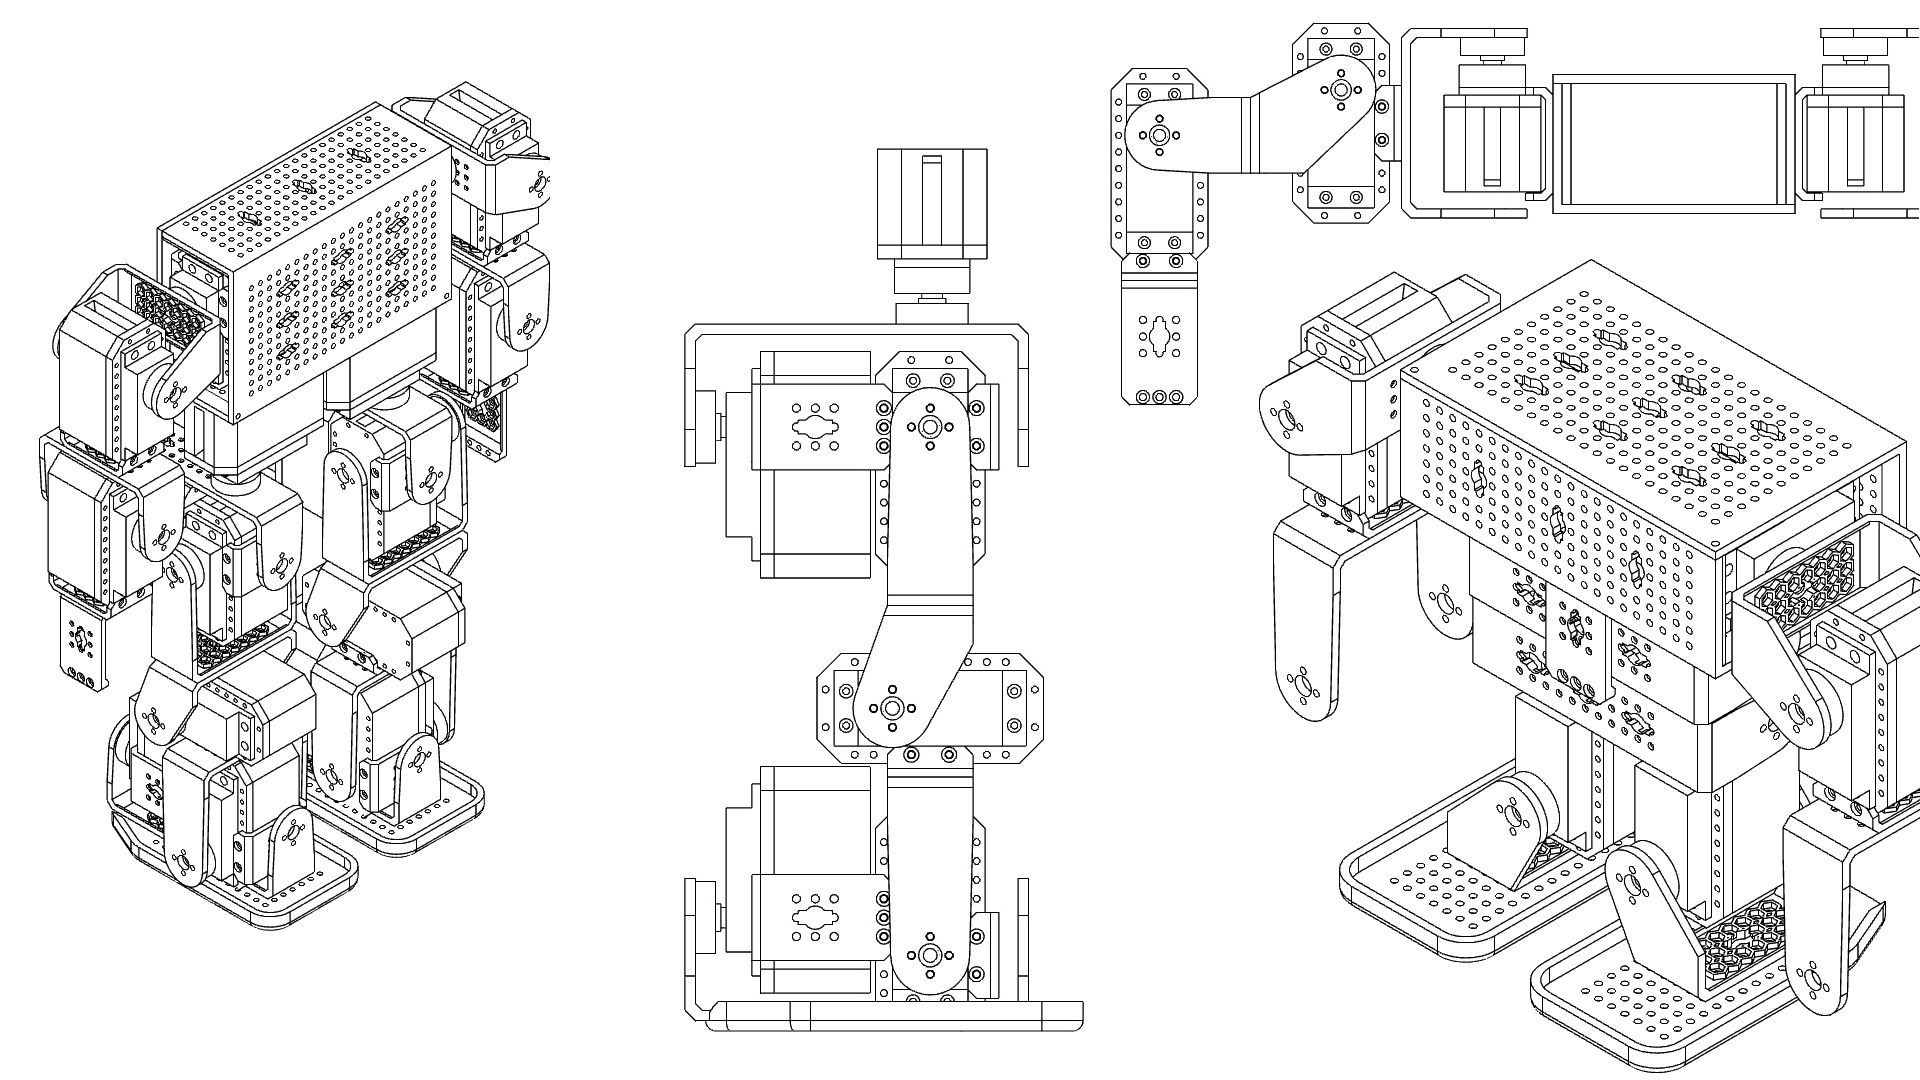
You can design & build your own robot or build one of the 2 example robots.
The first robot is a quadruped robot actuated by 8 servo motors. The second robot (Zombie) is a biped walking robot. Both of them come with complete video assembly instructions + basic code to walk.
Follow the video instructions to assemble your first robot!
YouMakeRobots electronics

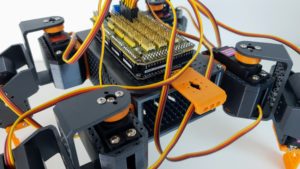
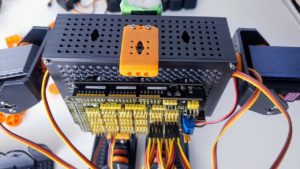
The servos are controlled by an Arduino MEGA board. In order to easily connect the servos to the Arduino MEGA, I use the MEGA Sensor Shield V1 from Keyestudio. The Sensor shield simply plugs on top of the Arduino MEGA board.
The power is provided by a 3S, 11.1 Volts polymer battery. As the Arduino and the servos require only 5 Volts, I use a XL4016 DC-DC converter to reduce the battery voltage.
XL4016 DC DC converter connection
- Battery red wire to IN+
- Battery black wire to IN-
- OUT+ to VCC of the Keyestudio MEGA sensor shield
- OUT- to the GND of the Keyestudio MEGA sensor shield
Adjust the output voltage of the XL4016 to 5 volts
Connect a multimeter between XL4016 OUT+ and XL4016 OUT-. Set the Multimeter to 20 V===. Turn the blue potentiometers on the XL4016 step down converter until the output tension reads 5 Volts on the multimeter. There are normally 2 potentiometers : one coarse and one fine.
After adjusting the output voltage of the DC DC converter to 5 Volts, you can connect the converter to the Arduino MEGA.
Servo connection
The servos are connected to the sensor shield, using pins 22 to 45. Connecting the servos to the MEGA before assembly ensures the servos are correctly centered.
Servo connection for the Quadruped robot (top view)
+—+
=(7)=(3)| |(0)=(4)=
| |
=(6)=(2)| |(1)=(5)=
+—+
- Servo 0 = Front Right (pin 22)
- Servo 1 = Rear Right (pin 23)
- Servo 2 = Rear Left (pin 24)
- Servo 3 = Front Left (pin 25)
- Servo 4 = Front Right Leg (pin 26)
- Servo 5 = Front Right Leg (pin 27)
- Servo 6 = Front Right Leg (pin 28)
- Servo 7 = Front Right Leg (pin 29)
Servo connection for the Biped robot (front view)
=(1)=(0)=====(4)=(5)=
=====
(2) (6)
| |
(3) (7)
- Servo 0 = Right Shoulder (pin 22)
- Servo 1 = Right Arm (pin 23)
- Servo 2 = Right Leg (pin 24)
- Servo 3 = Right Foot (pin 25)
- Servo 4 = Left Shoulder (pin 26)
- Servo 5 = Left Arm (pin 27)
- Servo 6 = Left Leg (pin 28)
- Servo 7 = Left Foot (pin 29)
Uploading the Arduino sketch
Using the Arduino IDE and as shown on the video instructions, upload the Arduino sketch:
- For the quadruped robot, upload quadruped.ino
- For the biped robot: upload zombie.ino
These 2 sketches make the robots walk.
Moving the servos manually using the Arduino serial monitor
Although you can use the example code provided to get started, you can also control the servos manually and program you own moves interactively.
Upload the sketch gettingStarted.ino to the Arduino. The gettingStarted sketch allows to control the robot interactively using the serial monitor.
In the Arduino IDE, open the Serial Monitor and select a speed of 115200 bauds.
To move a servo, type “MOVE:<servoId>=<angle>” in the serial monitor
- <servoId> is the servo id between 0 and 31 included. 0 corresponds to the servo connected to pin 22 and 31 corresponds to the servo connected to pin 53.
- <angle> is the target angle in degrees, between -90 and +90 included. An increasing angle makes the servo to rotate clockwise, while a decreasing angle makes the servo to rotate counter-clockwise.
For example, to move the servo connect to pin 22 to +45 degrees, type “MOVE:0=45” without the “”
It is possible to move multiple servos at the same time. For example, to move the first 8 servos to 0 degrees, type “MOVE:0=0,1=0,2=0,3=0,4=0,5=0,6=0,7=0” without the “”
Other commands are available. To see an up to date list of available commands, refer to method executeCommand in YouMakeRobots.cpp
For example, “SPEED:1000” makes all moves last 1000 ms. If you want your robot to move faster, try “SPEED:200”.
Another useful command is TRIM, which allows to “trim” / adjust the center of each servo by adding a constant offset in us to all commanded pulse widths of this servo.
Try for example “TRIM:0=40” or “TRIM:0=-40” to offset the center of the servo connected to pin 22 (servo 0) by +40us or -40us.
Now it’s your turn!
Congratulations if you made it until the end of this tutorial!
Now that you have built your first robot, try to invent your own! The possibilities are endless because you can print as many parts as you want. The Arduino MEGA supports up to 48 servo motors!
Any issue, question, do not hesitate to leave a comment on my YouTube channel. I do my best to answer every comment. I am looking forward to see what you will build with YouMakeRobots!