Make your own GameBoy with a Raspberry Pi Pico and start coding retro games in MicroPython or C++
Overview
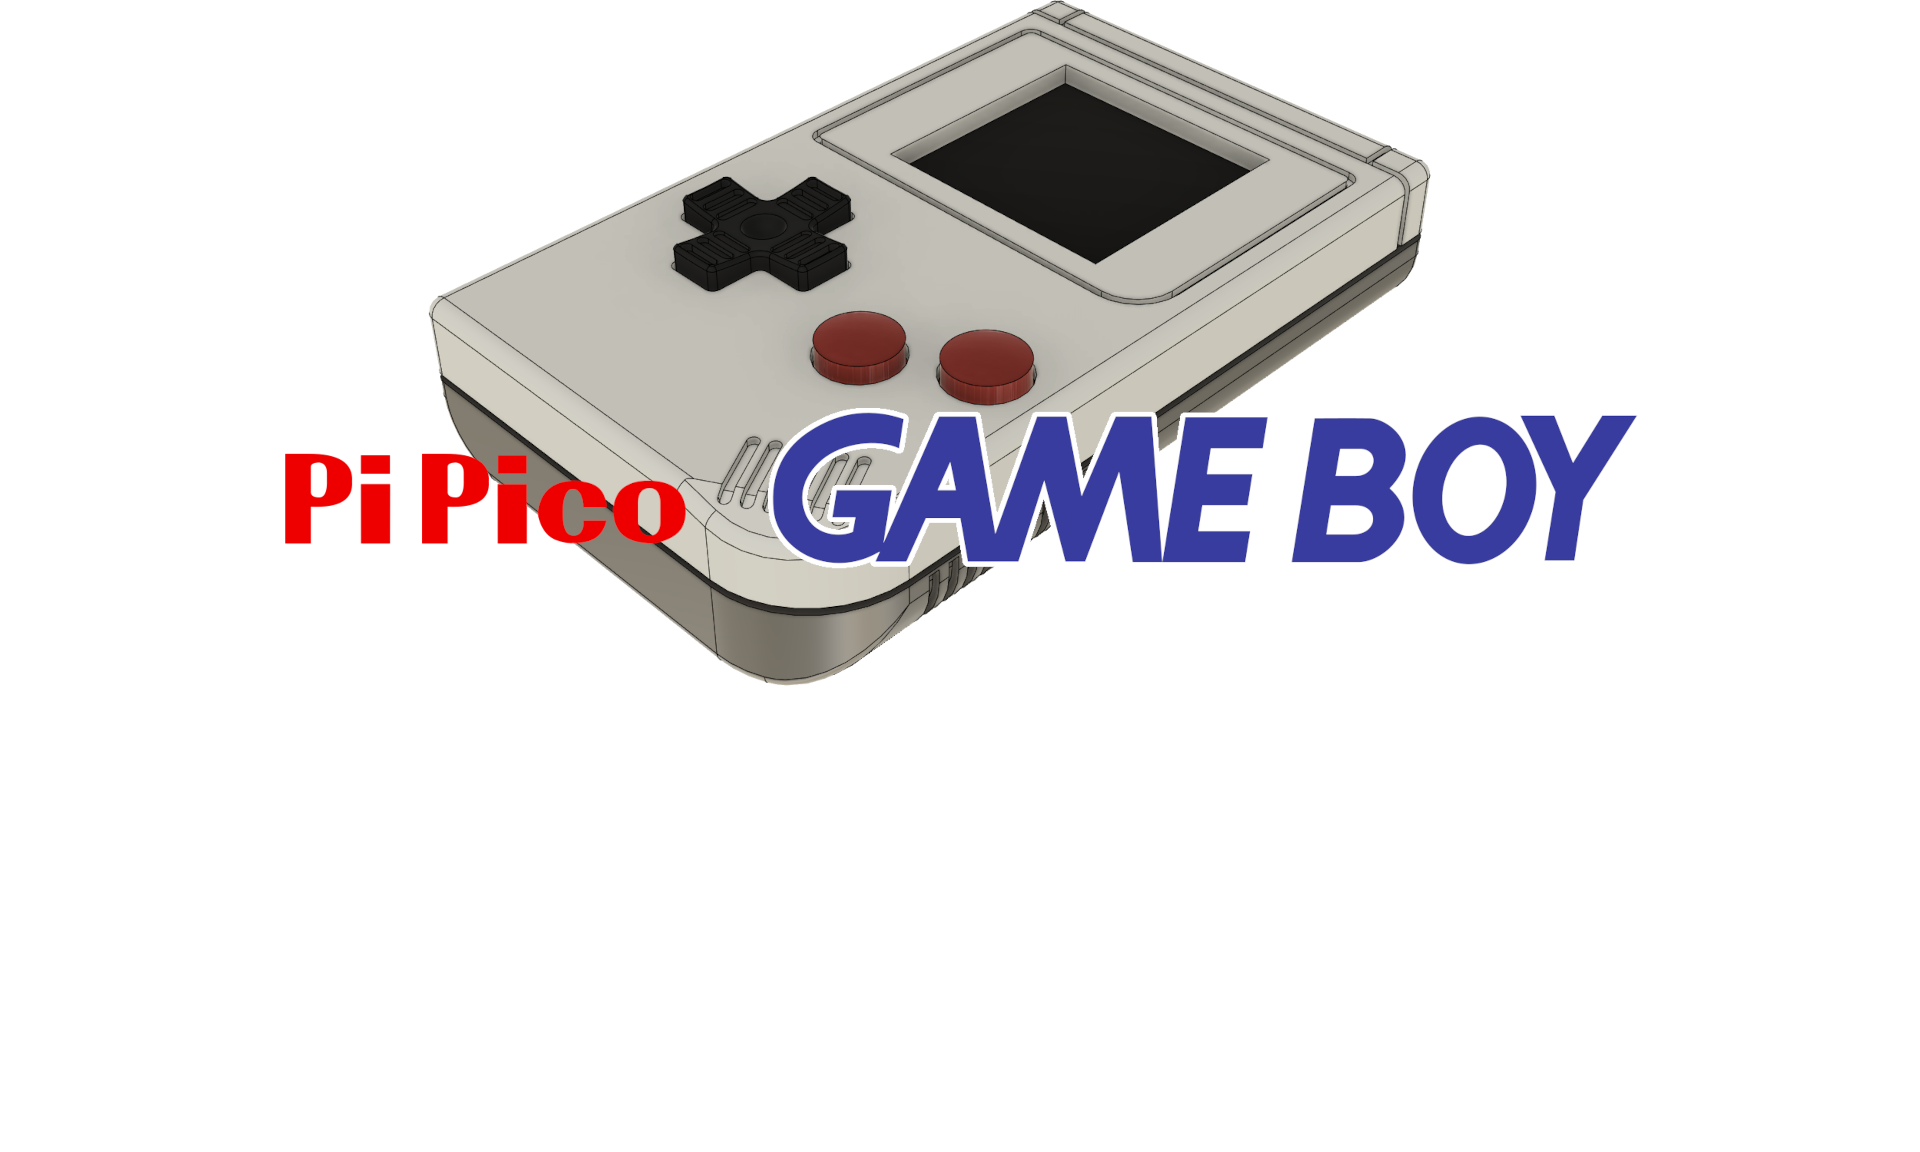
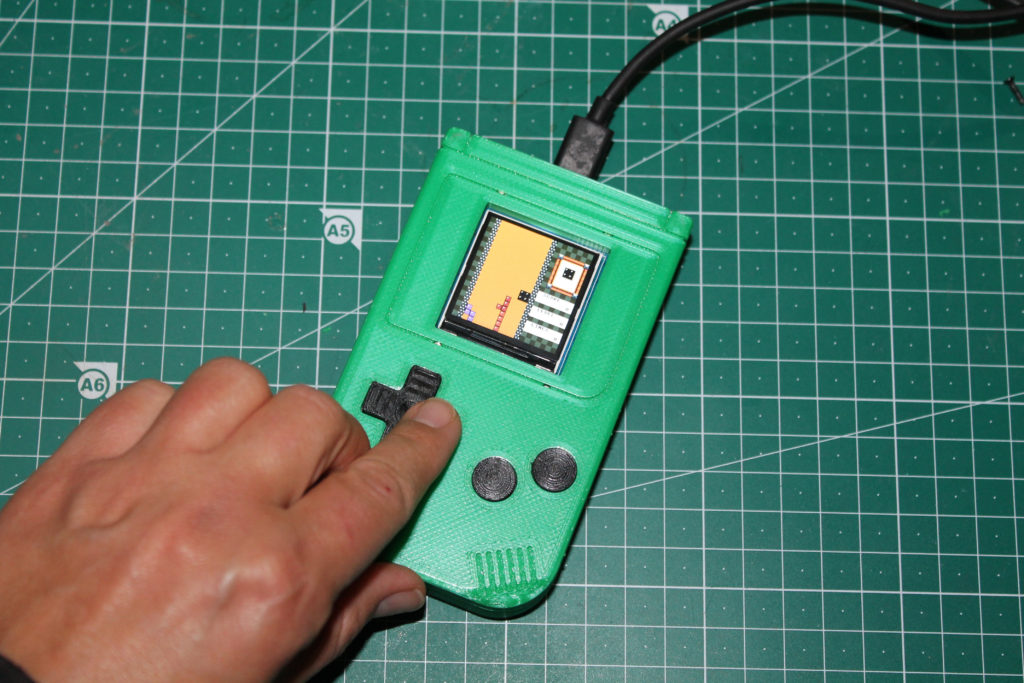
The Pi Pico GameBoy is a DIY game console based on the $4 Raspberry Pi Pico microcontroller. The Raspberry Pi Pico GameBoy can be programmed in MicroPython, a special version of Python made for Microcontrollers, or in C++ for better performance.
For less than $20, you can make your own game console and start coding games! Retro games are probably the funniest way to learn how to program!
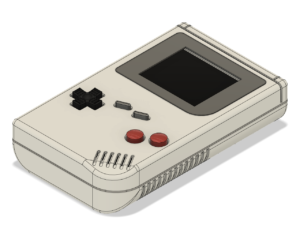
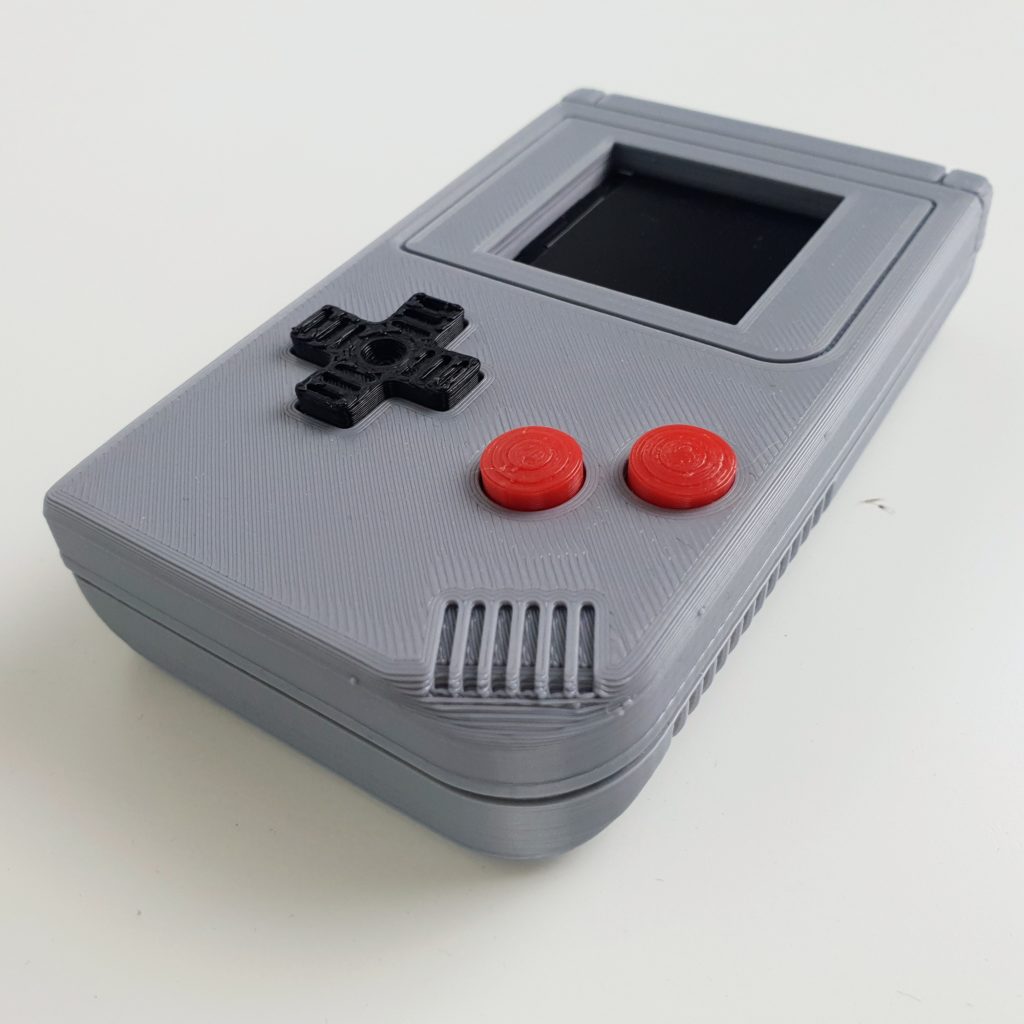
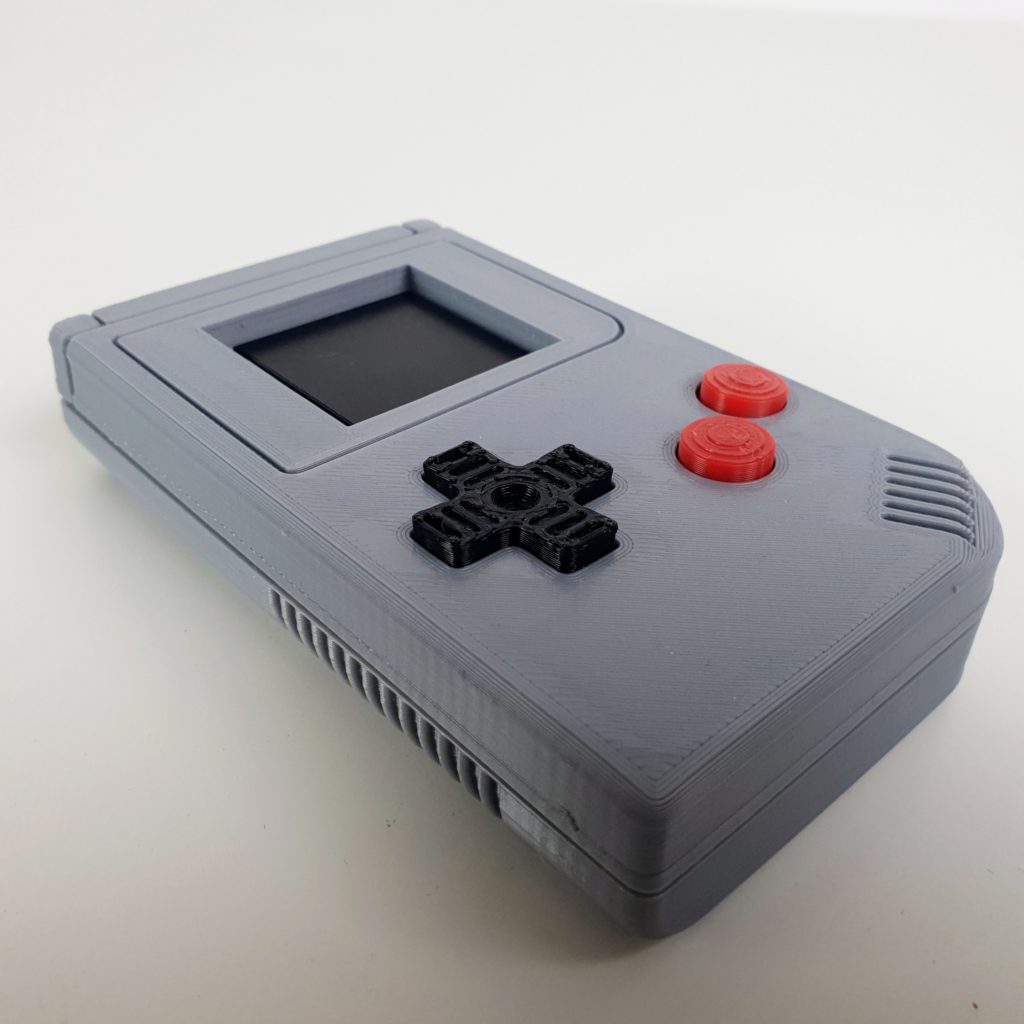
The screen is a 1.54-inch LCD with a resolution of 240×240 pixels and 65K colors. There a 6 buttons: 4 for the DPAD + 2 action buttons. The buttons are 6x6x6mm micro push buttons. The sound is provided by a simple piezo buzzer.
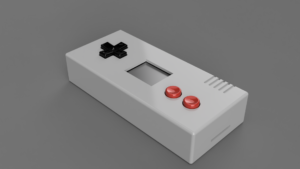
The case and the buttons have been designed in Fusion 360, a 3d modeling software from AutoDesk. The case is 3D printed and is about 3:4 of the original Nintendo Game Boy: It fits nicely in the pocket! Do you remember how big the original Nintendo Game Boy was?!
The buttons are kept at a 1:1 scale otherwise they become too small for “old kids”!
| Pi Pico GameBoy | Original Game Boy (1989) | |
| Size | 111x68x25mm (3:4 Scale) | 148x90x32mm |
| Weight | 85g | 220g |
| Screen | 1.54 inch LCD IPS | 2.6 inch LCD STN |
| Display size | 30x30mm | 47x43mm |
| Resolution | 240×240 pixels | 160×144 pixels |
| Color support | 65K Colors | 4 shades of “gray” |
| Power | USB | 4xAA batteries |
| Sound | Piezo Buzzer | Speaker + headphone |
| Inputs | Eight-way control pad 2 action buttons (A, B) | Eight-way control pad 4 action buttons (A, B, Start, Select) Volume potentiometer Contrast potentiometer Power switch |
| CPU | Raspberry Pi Pico RP2040 133MHz dual ARM Cortex-M0+ cores | Custom 8-bit Sharp LR35902 4.19Mhz |
| Memory | 264KB RAM + 2MB Flash | 8KB internal RAM + up to 128KB game cartridge RAM + 8KB RAM for LCD display |
In the press
The Pico GameBoy is featured in the issue 123 and 124 of MagPi magazine !
- In issue 123, K.G. Orphanides wrote a detailed article on how to build the Pico GameBoy.
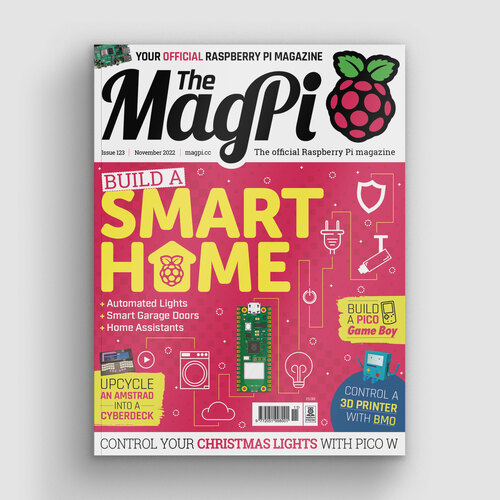
- In issue 124, K.G. Orphanides explains step-by-step how to write a game for the Raspberry Pi Pico Game Boy DIY handheld console: sprites, colors, collision detection, animations and more.
What you need
In order to make the Raspberry Pi Pico GameBoy, you will need the parts below.
| 1x | Download 3d printed parts/.stl files | 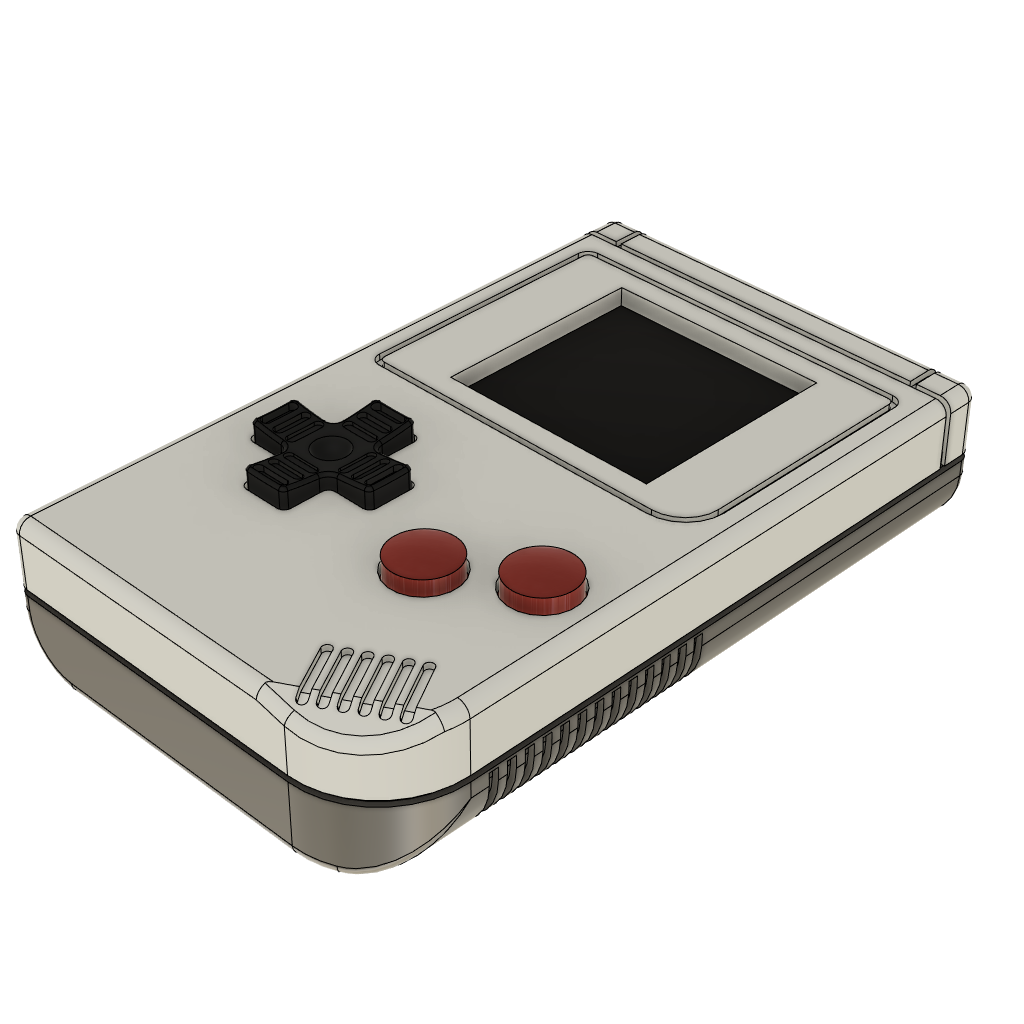 |
| 1x | Raspberry Pi Pico | 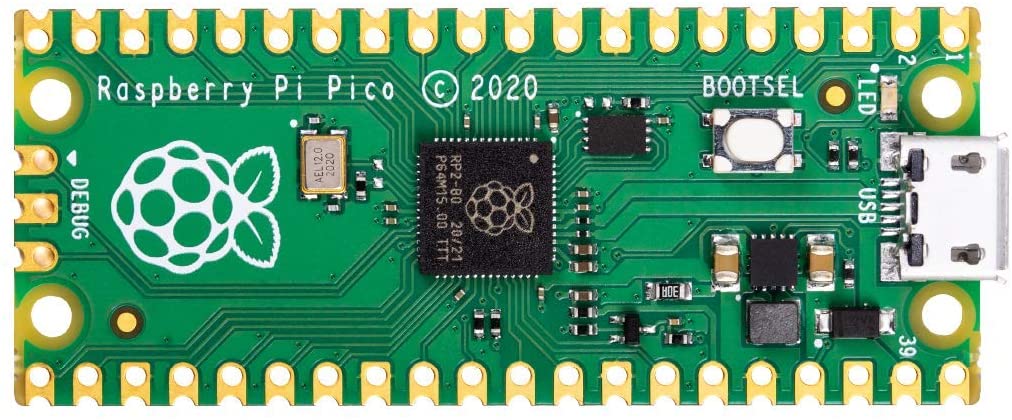 |
| 1x | Waveshare 1.54inch LCD Display Module IPS, 65K RGB Colors, 240×240 resolution, SPI interface, Embedded ST7789 Driver | 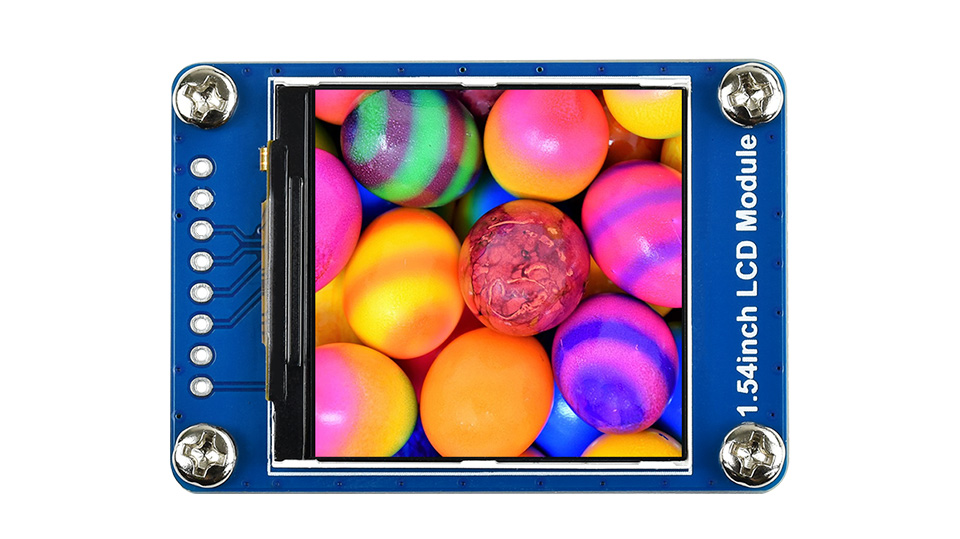 |
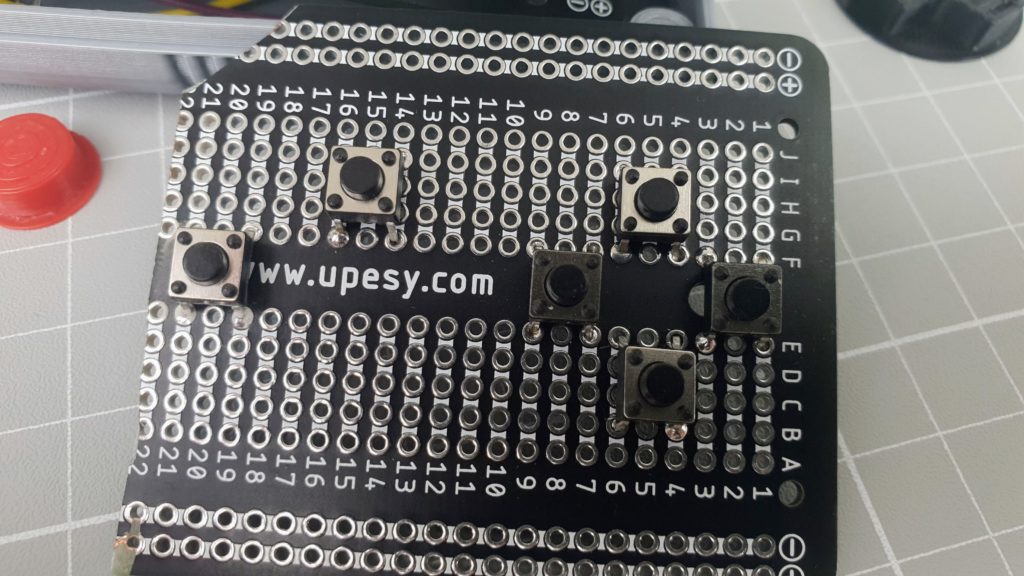
| 6x | Micro Push Button Switch, Momentary Tactile Tact Touch, 6x6x6 mm, 4 pins | 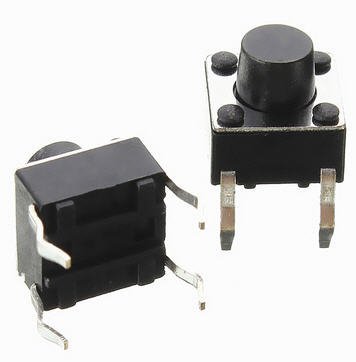 |
| 1x | 9042 Mini Piezo Buzzer Speaker 3.3V | 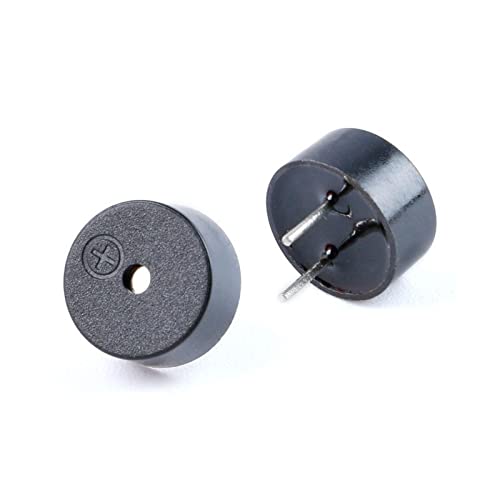 |
| 1x | Solderless Breadboard | 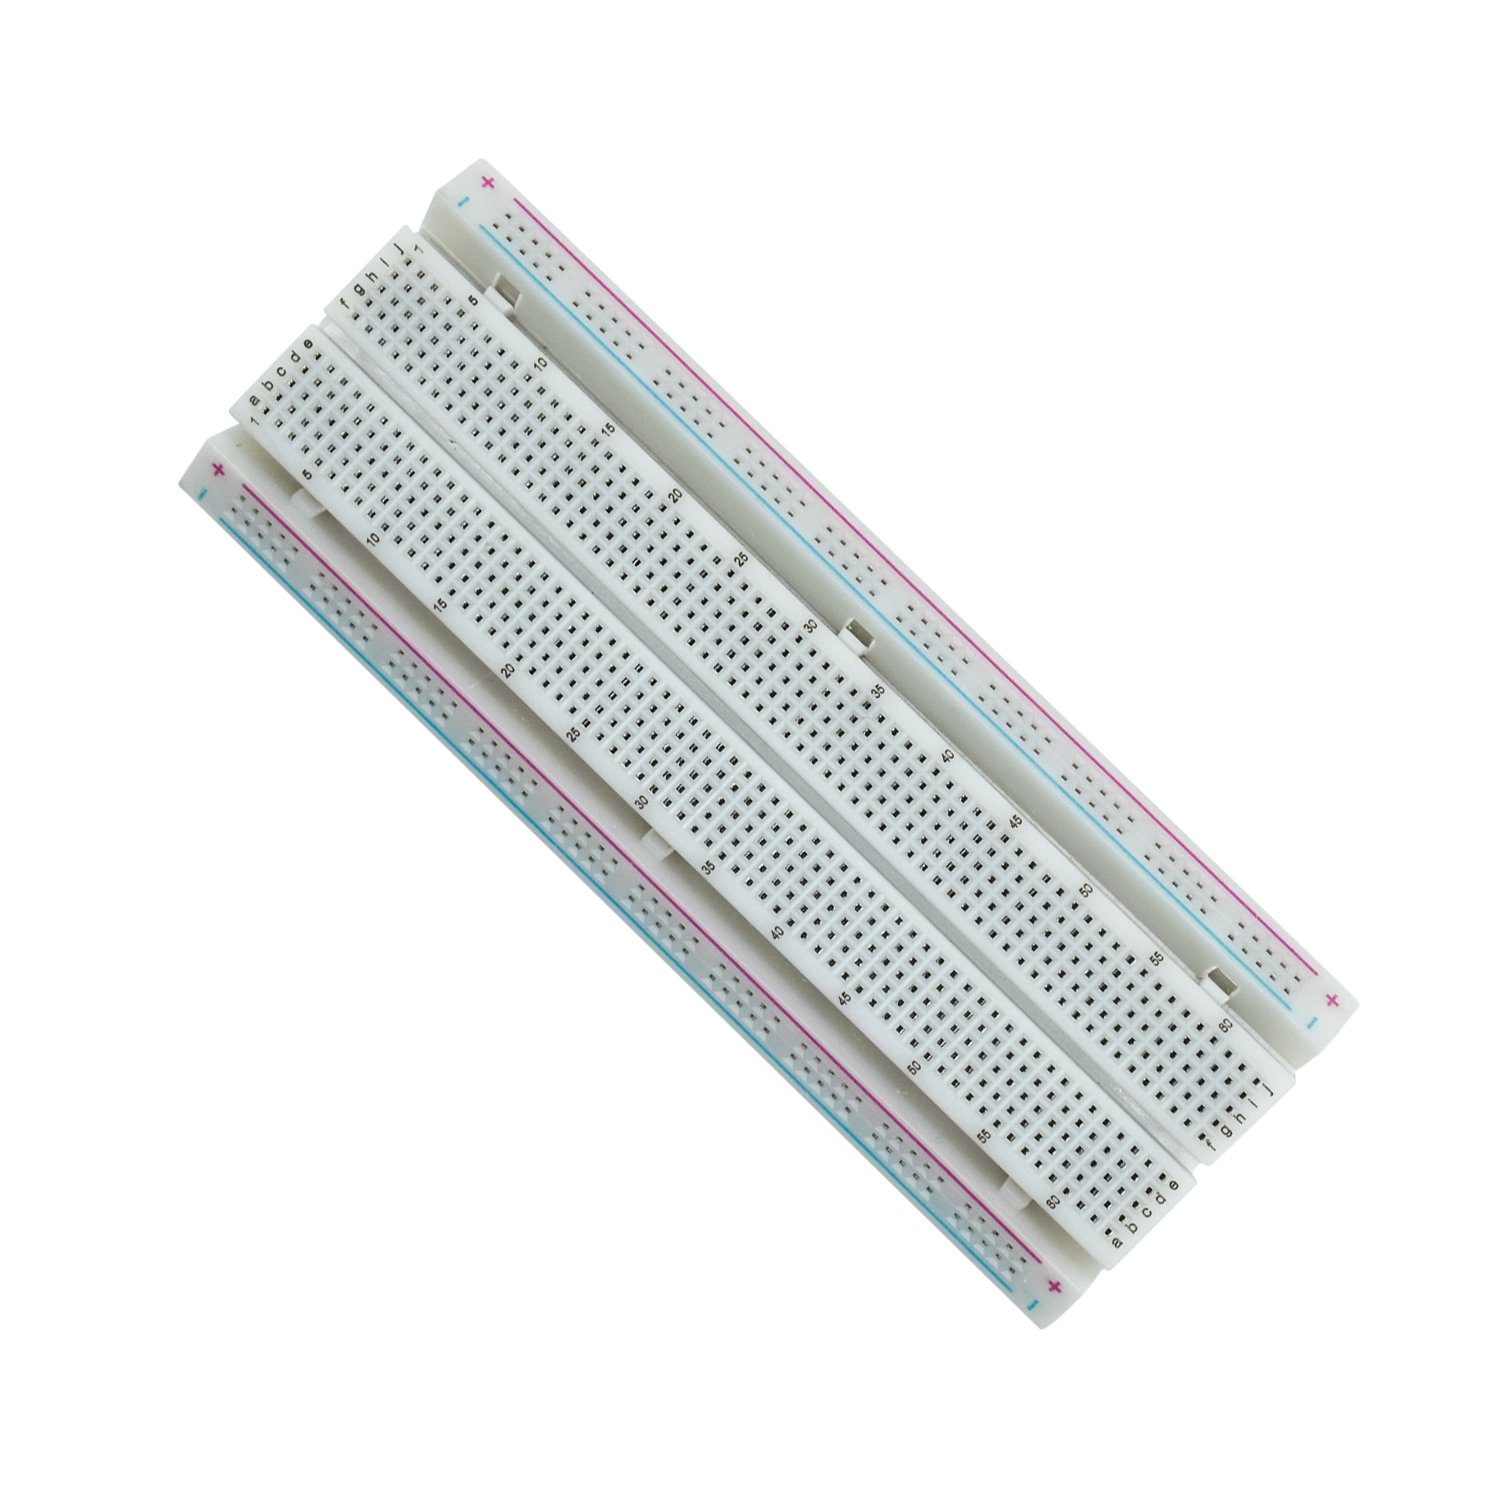 |
| 1x | Solderable Breadboard | 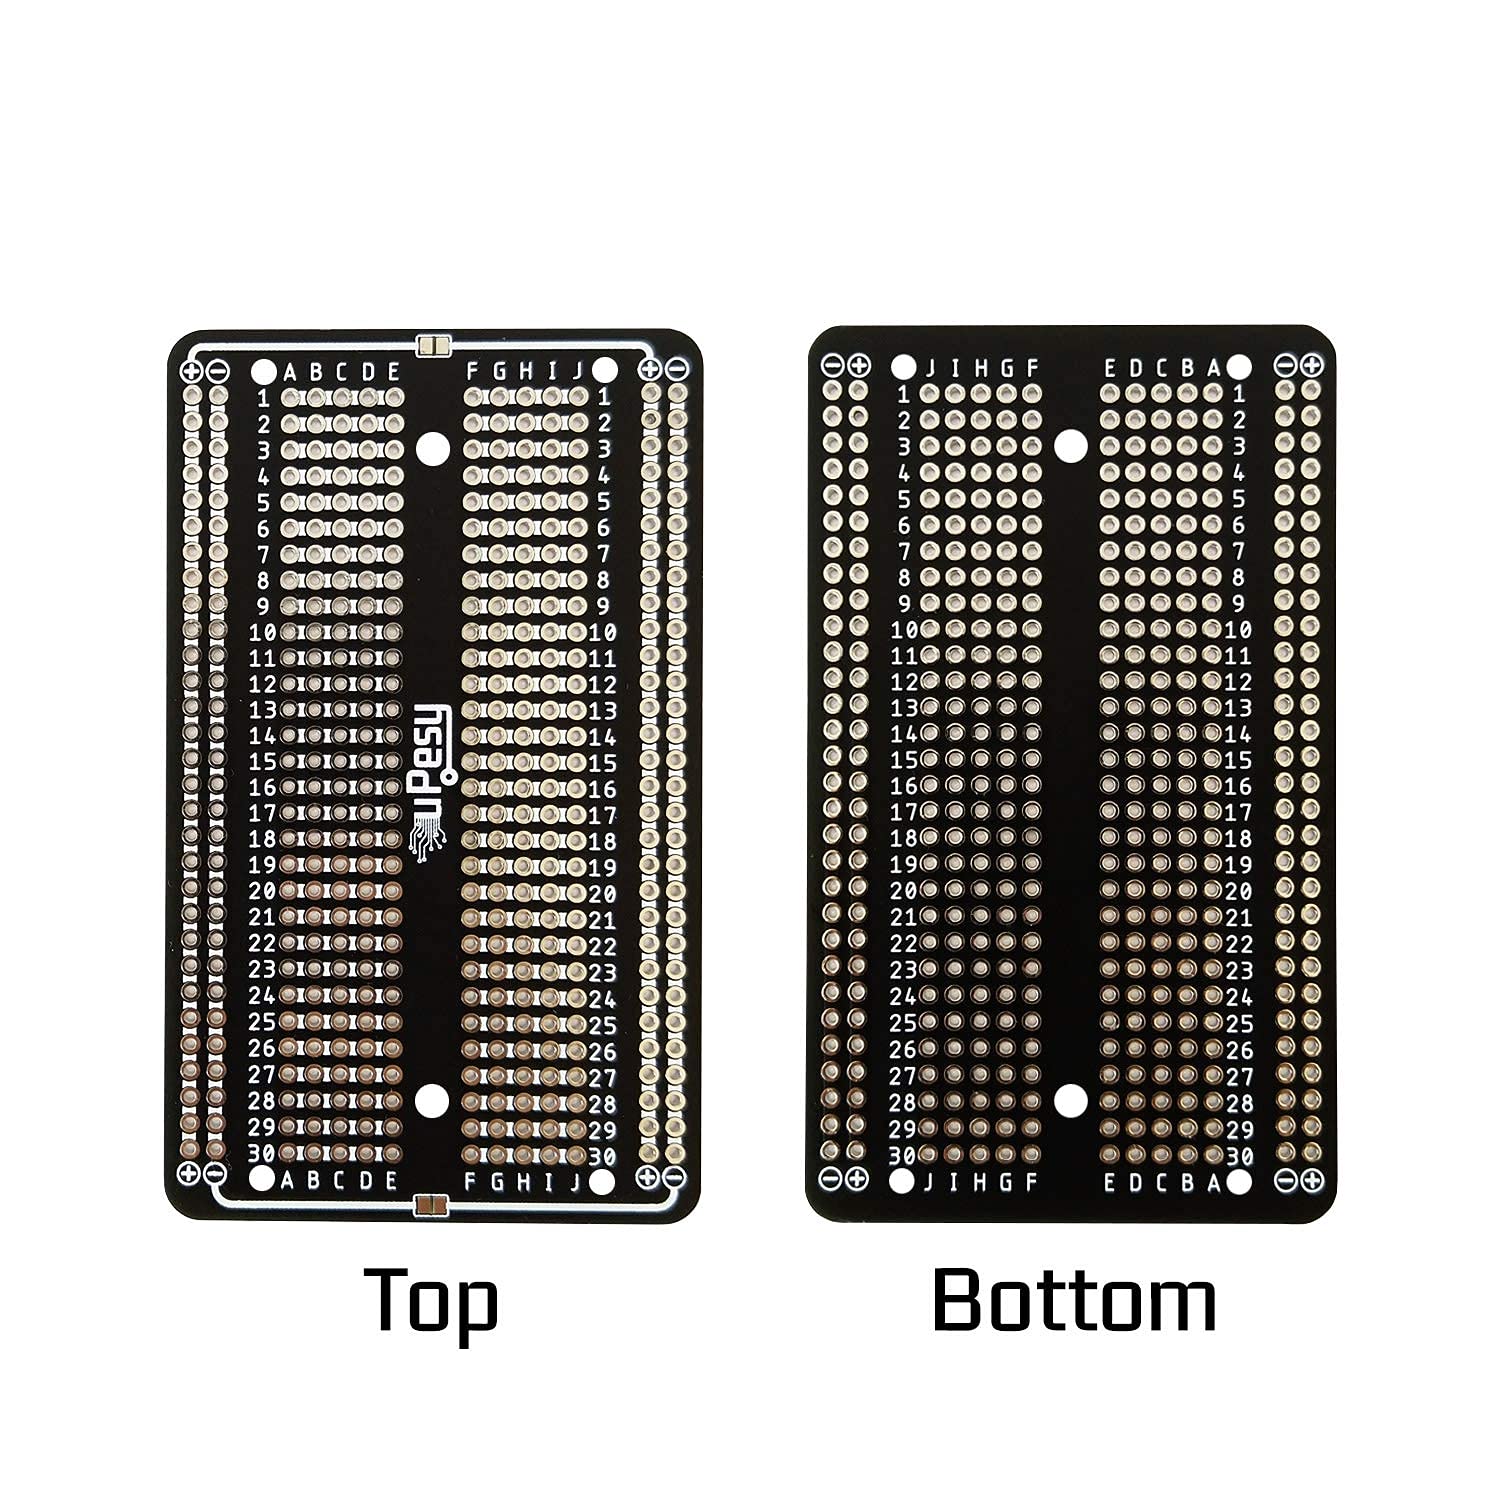 |
| 1x | Dupont Wires Assorted Kit (Male to Female + Male to Male + Female to Female) | 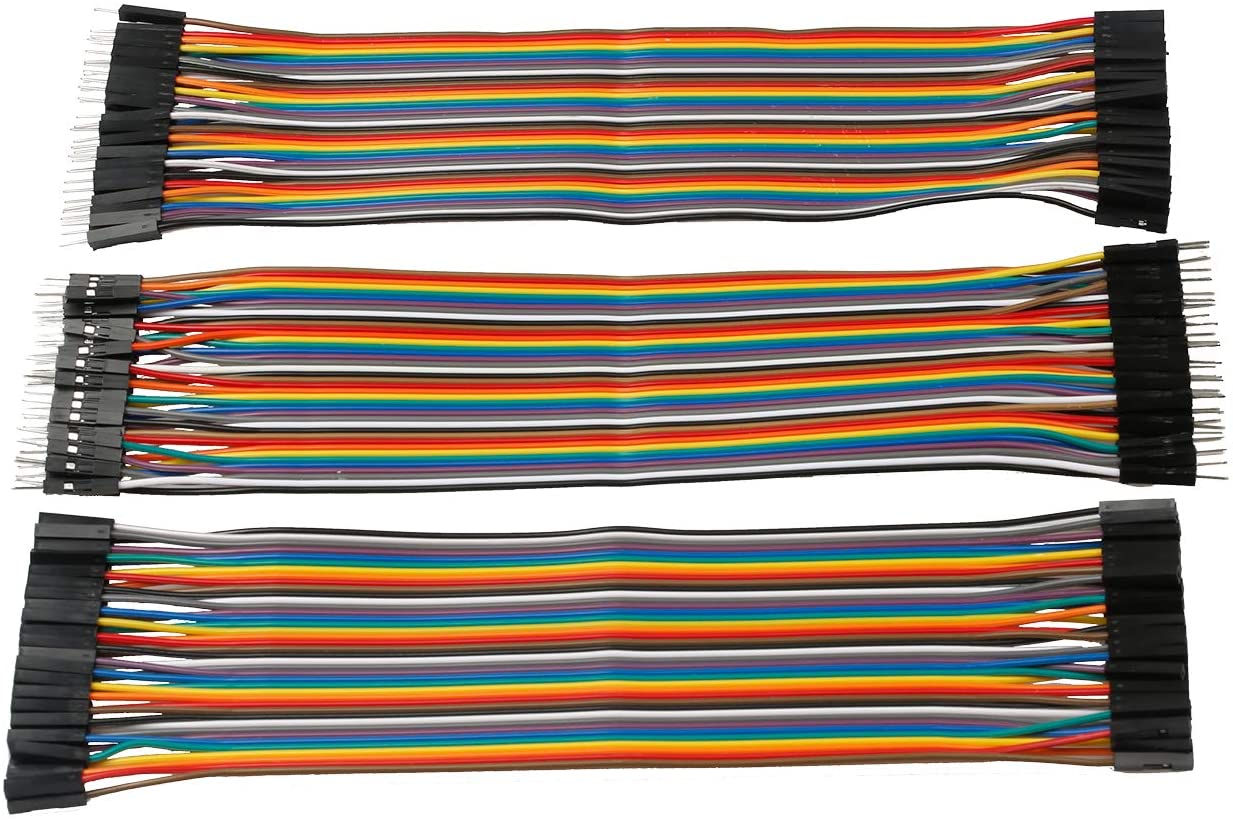 |
| 1x | Preformed Breadboard Jumper Wires |  |
| SUNLU PLA+ 3D Printer Filament Grey, Red, and Black or the colors of your choice! |  | |
| 4x 4x 4x | M2x4 mm bolts M2x6mm bolts M2x8mm bolts | |
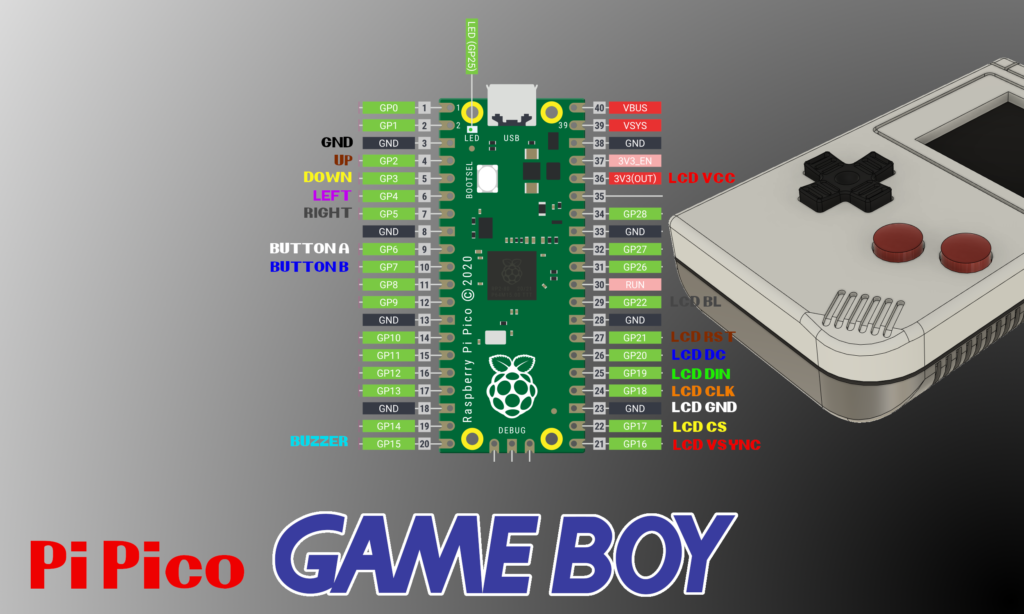
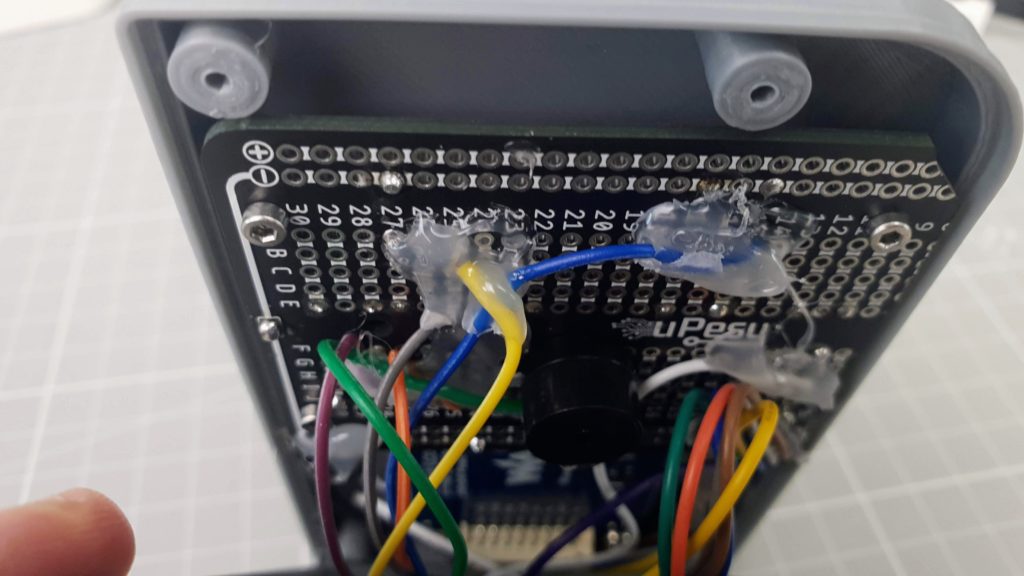
Electronics
Circuit diagram
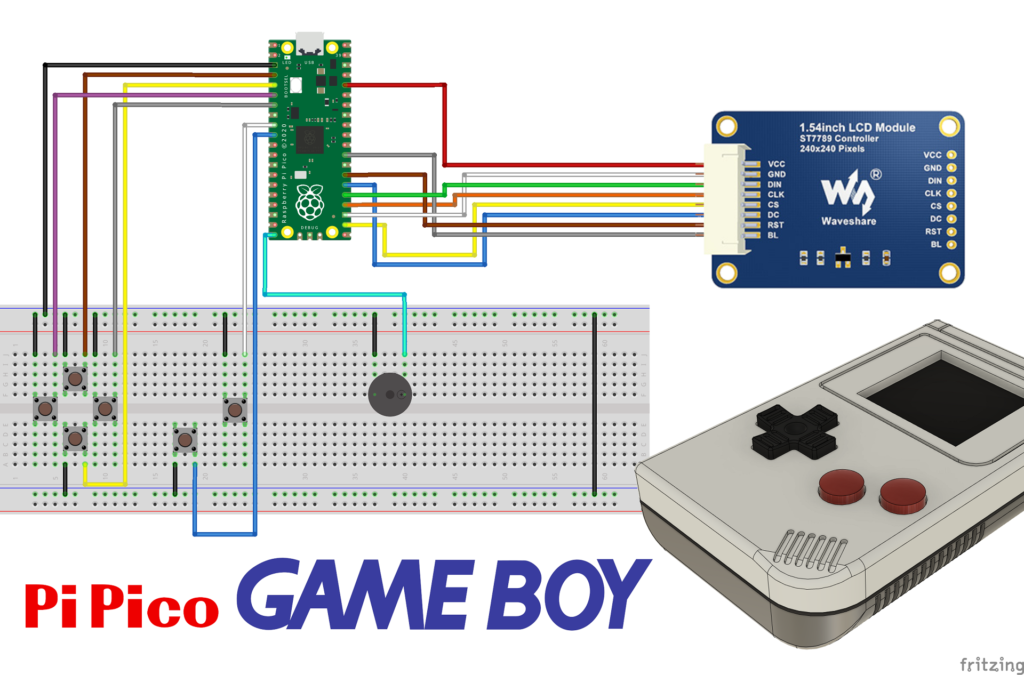
Pins assignments
3D Printing
Download 3d printed model
Slicer settings
I printed these parts in Sunlu PLA+. My print settings (Ultimaker Cura):
- Layer Height: 0.25 mm
- Line Width: 0.4 mm
- Wall Thickness: 0.8 mm (=2 walls)
- Top/Bottom Thickness: 0.75 mm (=3 layers)
- Infill Density: 20%
- Infill Pattern: Cubic
- Printing Temperature: 230 deg C
- Build Plate Temperature: 70 deg C
- Enable Print Cooling: Enabled
- Fan Speed: 100%
- Initial Fan Speed: 0%
- Regular Fan Speed at Layer: 2
- Generate Support: Disabled
Print orientation

Software
Installing MicroPython on Raspberry Pi Pico
Before you can start to program Pico with MicroPython, you will need to install Thonny on your computer and MicroPython on your Raspberry Pi Pico. Thonny is a beginner friendly Python IDE (Interactive Development Environment).
- Download and install Thonny on your computer
- Start Thonny and click on the bottom right corner of the window, then click on “Configure interpreter…”
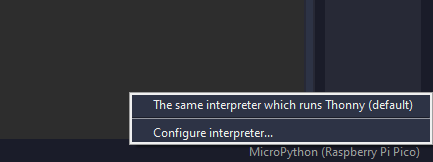
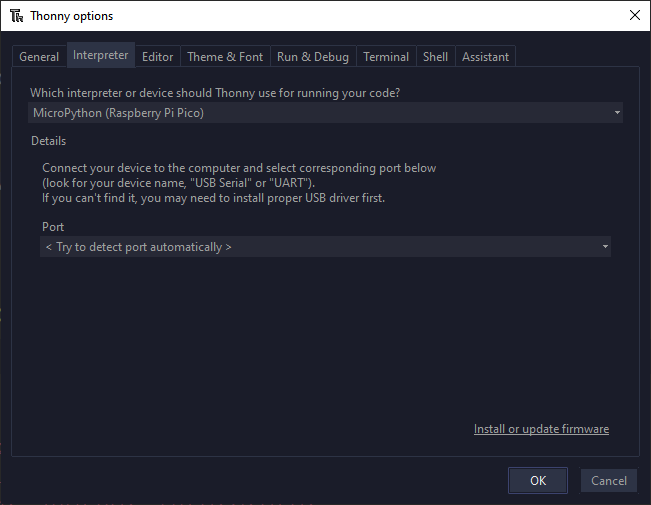
- Select MicroPython (Raspberry Pi Pico) and <Try to detect port automatically>
- Connect your Pico to your computer while maintaining the BOOTSEL button (The white button on top of the Raspberry Pi Pico)
- Click on “Install or update firmware” on the bottom right corner of the previous window. This opens a new window:
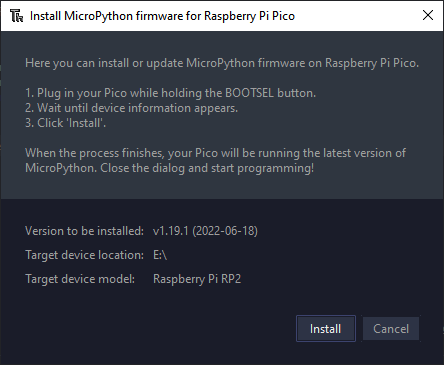
- Click on Install
“Hello World” in MicroPython
If everything has worked correctly, you should see the Micropython shell at the bottom of Thonny:
In the shell, you can interactively send python commands to Pico and see the result immediately. This is what makes programming in MicroPython so much easier than in C (e.g. Arduino)!
Let’s give it a try!
The onboard LED on Raspberry Pi Pico is connected to GPIO pin 25. You can blink this on and off interactively. To control hardware, you first import Pin from the machine module. You specify that GPIO pin 25 is a digital output:
from machine import Pin
led = Pin(25, Pin.OUT)
To turn the LED on, set the pin value to one:
led.value(1)The green led on the top of Pico should turn on.
You can turn it off again by setting the pin value to zero:
led.value(0)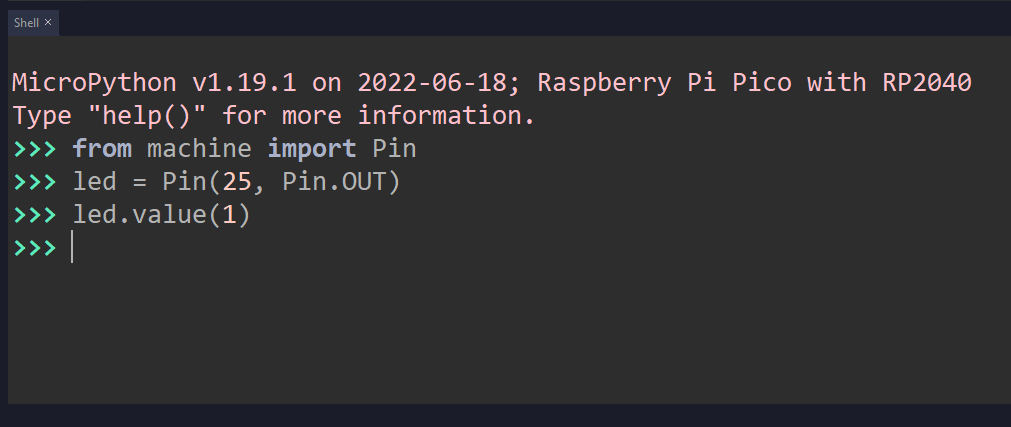
Games
Available games
- Tetris
- John Conway’s Game of Life
- Flappy Bird
- Hungry Rain by K.G. Orphanides
Install games
- Clone or download/unzip the Pi Pico GameBoy github repository to your computer
- Connect your Raspberry Pi Pico to your computer using an USB cable. Make sure you already installed MicroPython on it and that Thonny is configured for MicroPython (Rasbperry Pi Pico). Otherwise, refer to section “Installing MicroPython on the Raspberry Pi Pico” above
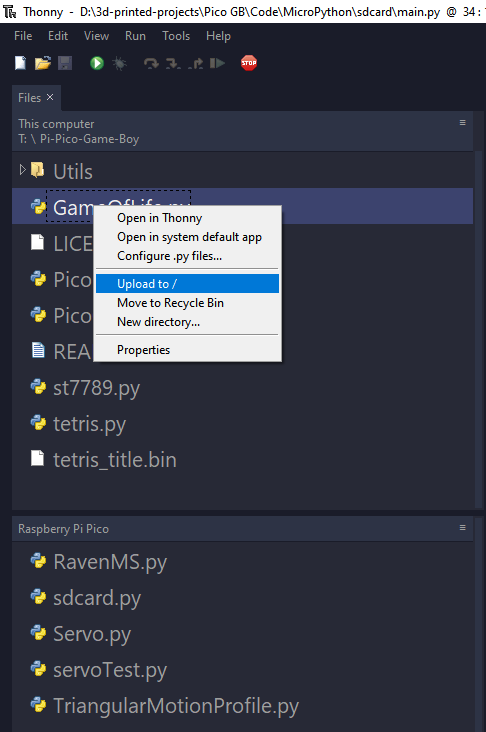
- Start Thonny and click on View -> Files in the top menu bar

- The “Files” window show the files on your computer at the top (‘This computer’) and the files currently on the pico at the bottom (‘Raspberry Pi Pico’).
- In the Files window, ‘This Computer’ panel, right click on each of the .py files and .bin files one by one and select “Upload to /”. This will transfer the selected file from your computer to the Pi Pico over USB. Make sure you copy all the files in particular PicoGameBoy.py, st7789.py, tetris_title.bin . PicoGameBoy.py is a library used by many games to simplify game programming, st7789.py is a driver for the LCD display, and tetris_bin.py is an image loaded by Tetris.
- Make sure you copied all *.py and *.bin files to the Pico:
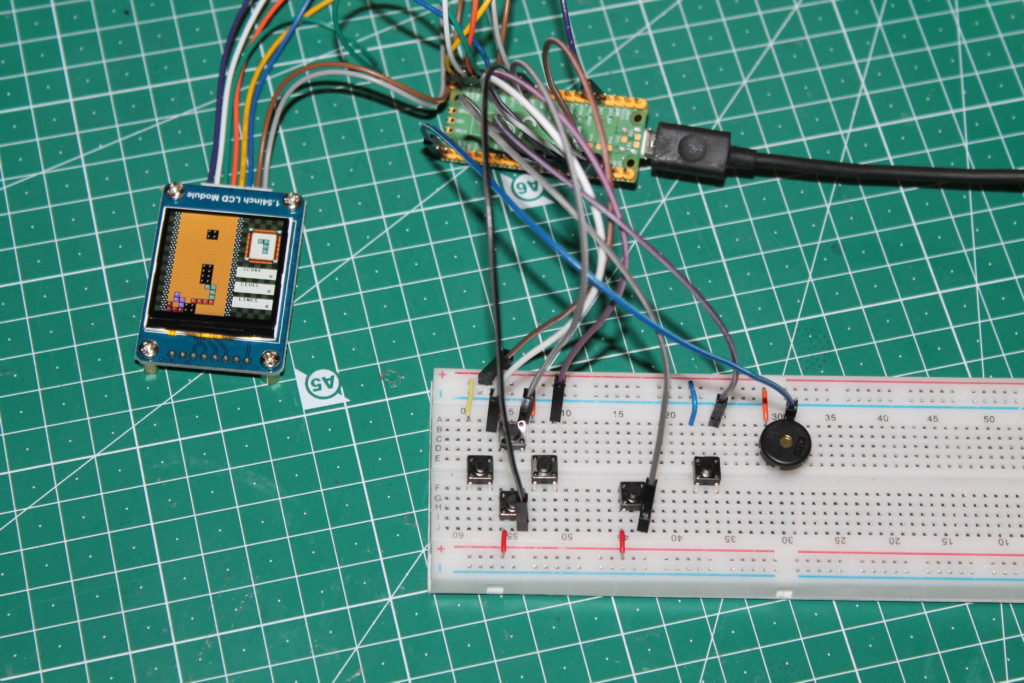
Start a game
- Double click on a game (e.g. tetris.py). This opens the file in Thonny.
- Click on the green arrow or press F5 to run the currently opened game

Start a game automatically
- Rename the game (e.g. tetris.py) to main.py. When the Pico starts, it automatically executes the script main.py in the root directory
Makes

Change Log
- 20220322: Initial Release (v39)